I’ve been commuting to work primarily by electric bike for about a year.
I’ve ridden a Prodeco Phantom (top heavy), borrowed a Specialized Turbo S (refined), and now ride a DIY mid-drive (fast, cheap).
What follows is how to put a mid-drive kit on a bike. A Mr. Money Mustache post pushed me over the edge and I decided to build one, but there is actually fair amount to learn if you aren’t already a bike-fixing person.
My hope is that this post makes it easier for you to build one of your own.
Building Your Own EBike
The steps are:
- Find a donor bike
- Buy a kit
- Buy some tools
- Prepare the Donor Bike
- Mount Motor
- Mount battery
- Wire it up
- Accessorize
Find a Donor Bike
We’re building a fast ebike, so we want to be able to stop quickly and go over bumps comfortably. That means we want a decent quality bike with at least:
- Disc brakes
- Suspension (definitely front. Rear is nice to have, but complicates where you can put the battery)
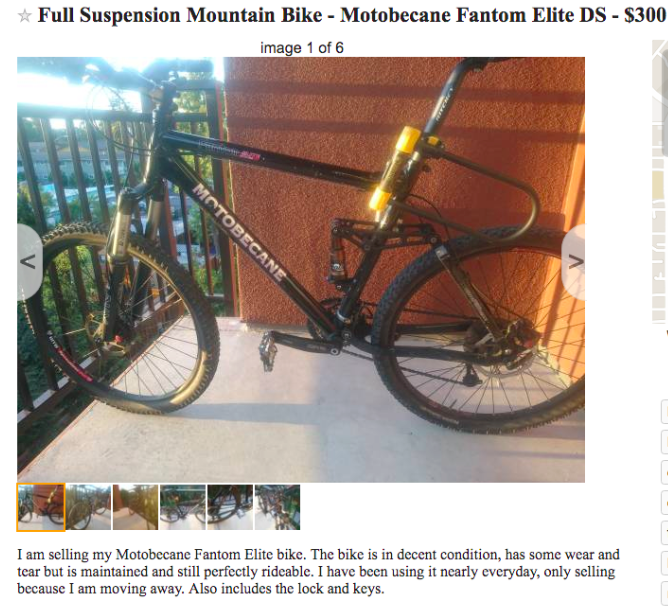
You should be able to find a nice used donor for about $300 in your neighborhood. I found a Motobecane Fantom Elite DS, whose suspension design leaves enough space for a battery on the downtube:
Buy a Kit
I went with a mid-drive kit from Luna. Specifically, the BBS02 kit with a 52v 11.5ah “wolf” battery. This cost me $1,333 and included essential wiring and accessories (full cost breakdown).
When I build this is 2018, BBS02 was the cheaper, “good enough” option (It’s definitely fast enough). Now, in 2019, you’d probably want the BBSHD.
You can adjust the battery capacity and voltage up or down depending on your range requirements.
The cool thing about the “Wolf” battery model is that the cells are encased in waterproof, indestructible resin.
The downside is that the magnet mounting system is not viable (Note: I think they have since added stronger magnets, I’m not sure if they’re now strong enough).
Buy some Tools
Besides basic stuff like pliers and a set of Allen keys, you will need:
- Bafang wrench
- Crank puller
- Chain breaker
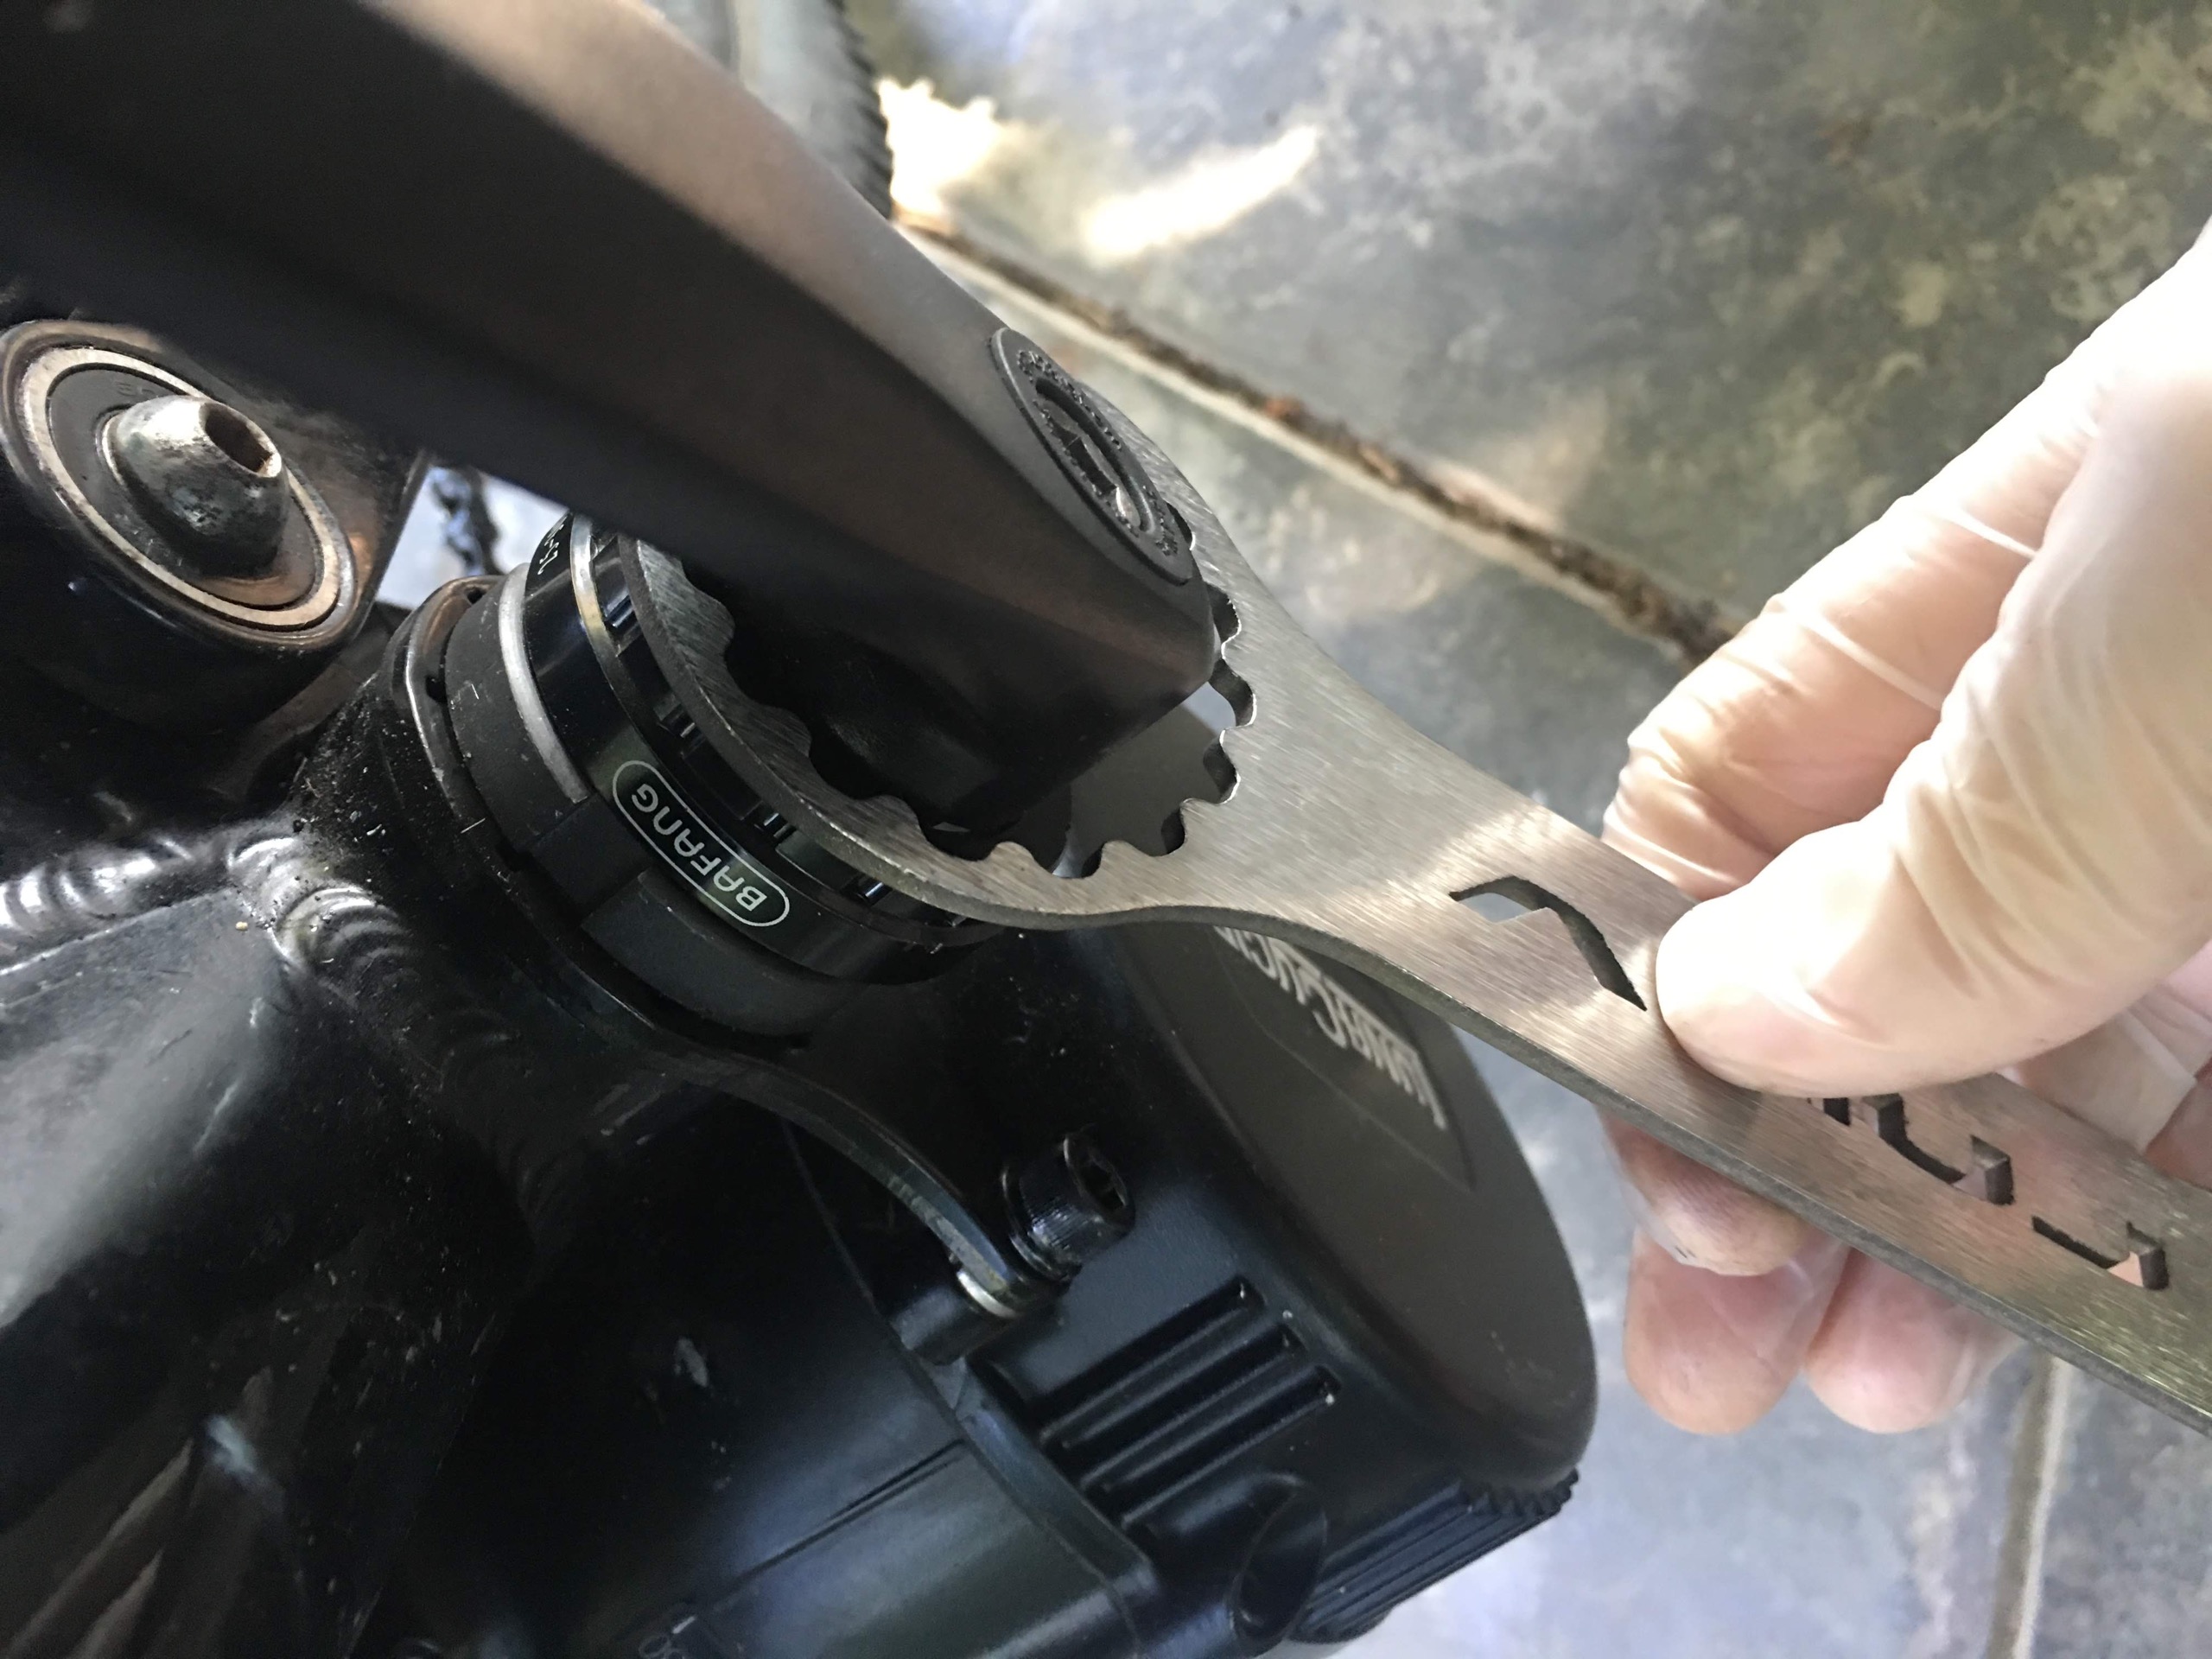
The Bafang wrench is responsible for tightening the nut that holds the motor in place on the frame. It’s really important. I tried with the wrong one:

My motor fell down. Don’t get that one. Instead, get this:

It has the teeth to tighten the nut on the motor properly.
You’ll also need a crank puller. Unless you’re a bike person already you probably won’t have one, and the kind you need varies based on the type of bottom bracket your donor bike has.
This one worked for my bike:

This tool lets you remove the thing that holds the pedals (called a bottom bracket).
Prepare the Donor Bike
You’ll need to take off the chain, the brakes (because we’re replacing them with emergency cutoff brakes, and remove the pedals and bottom bracket.
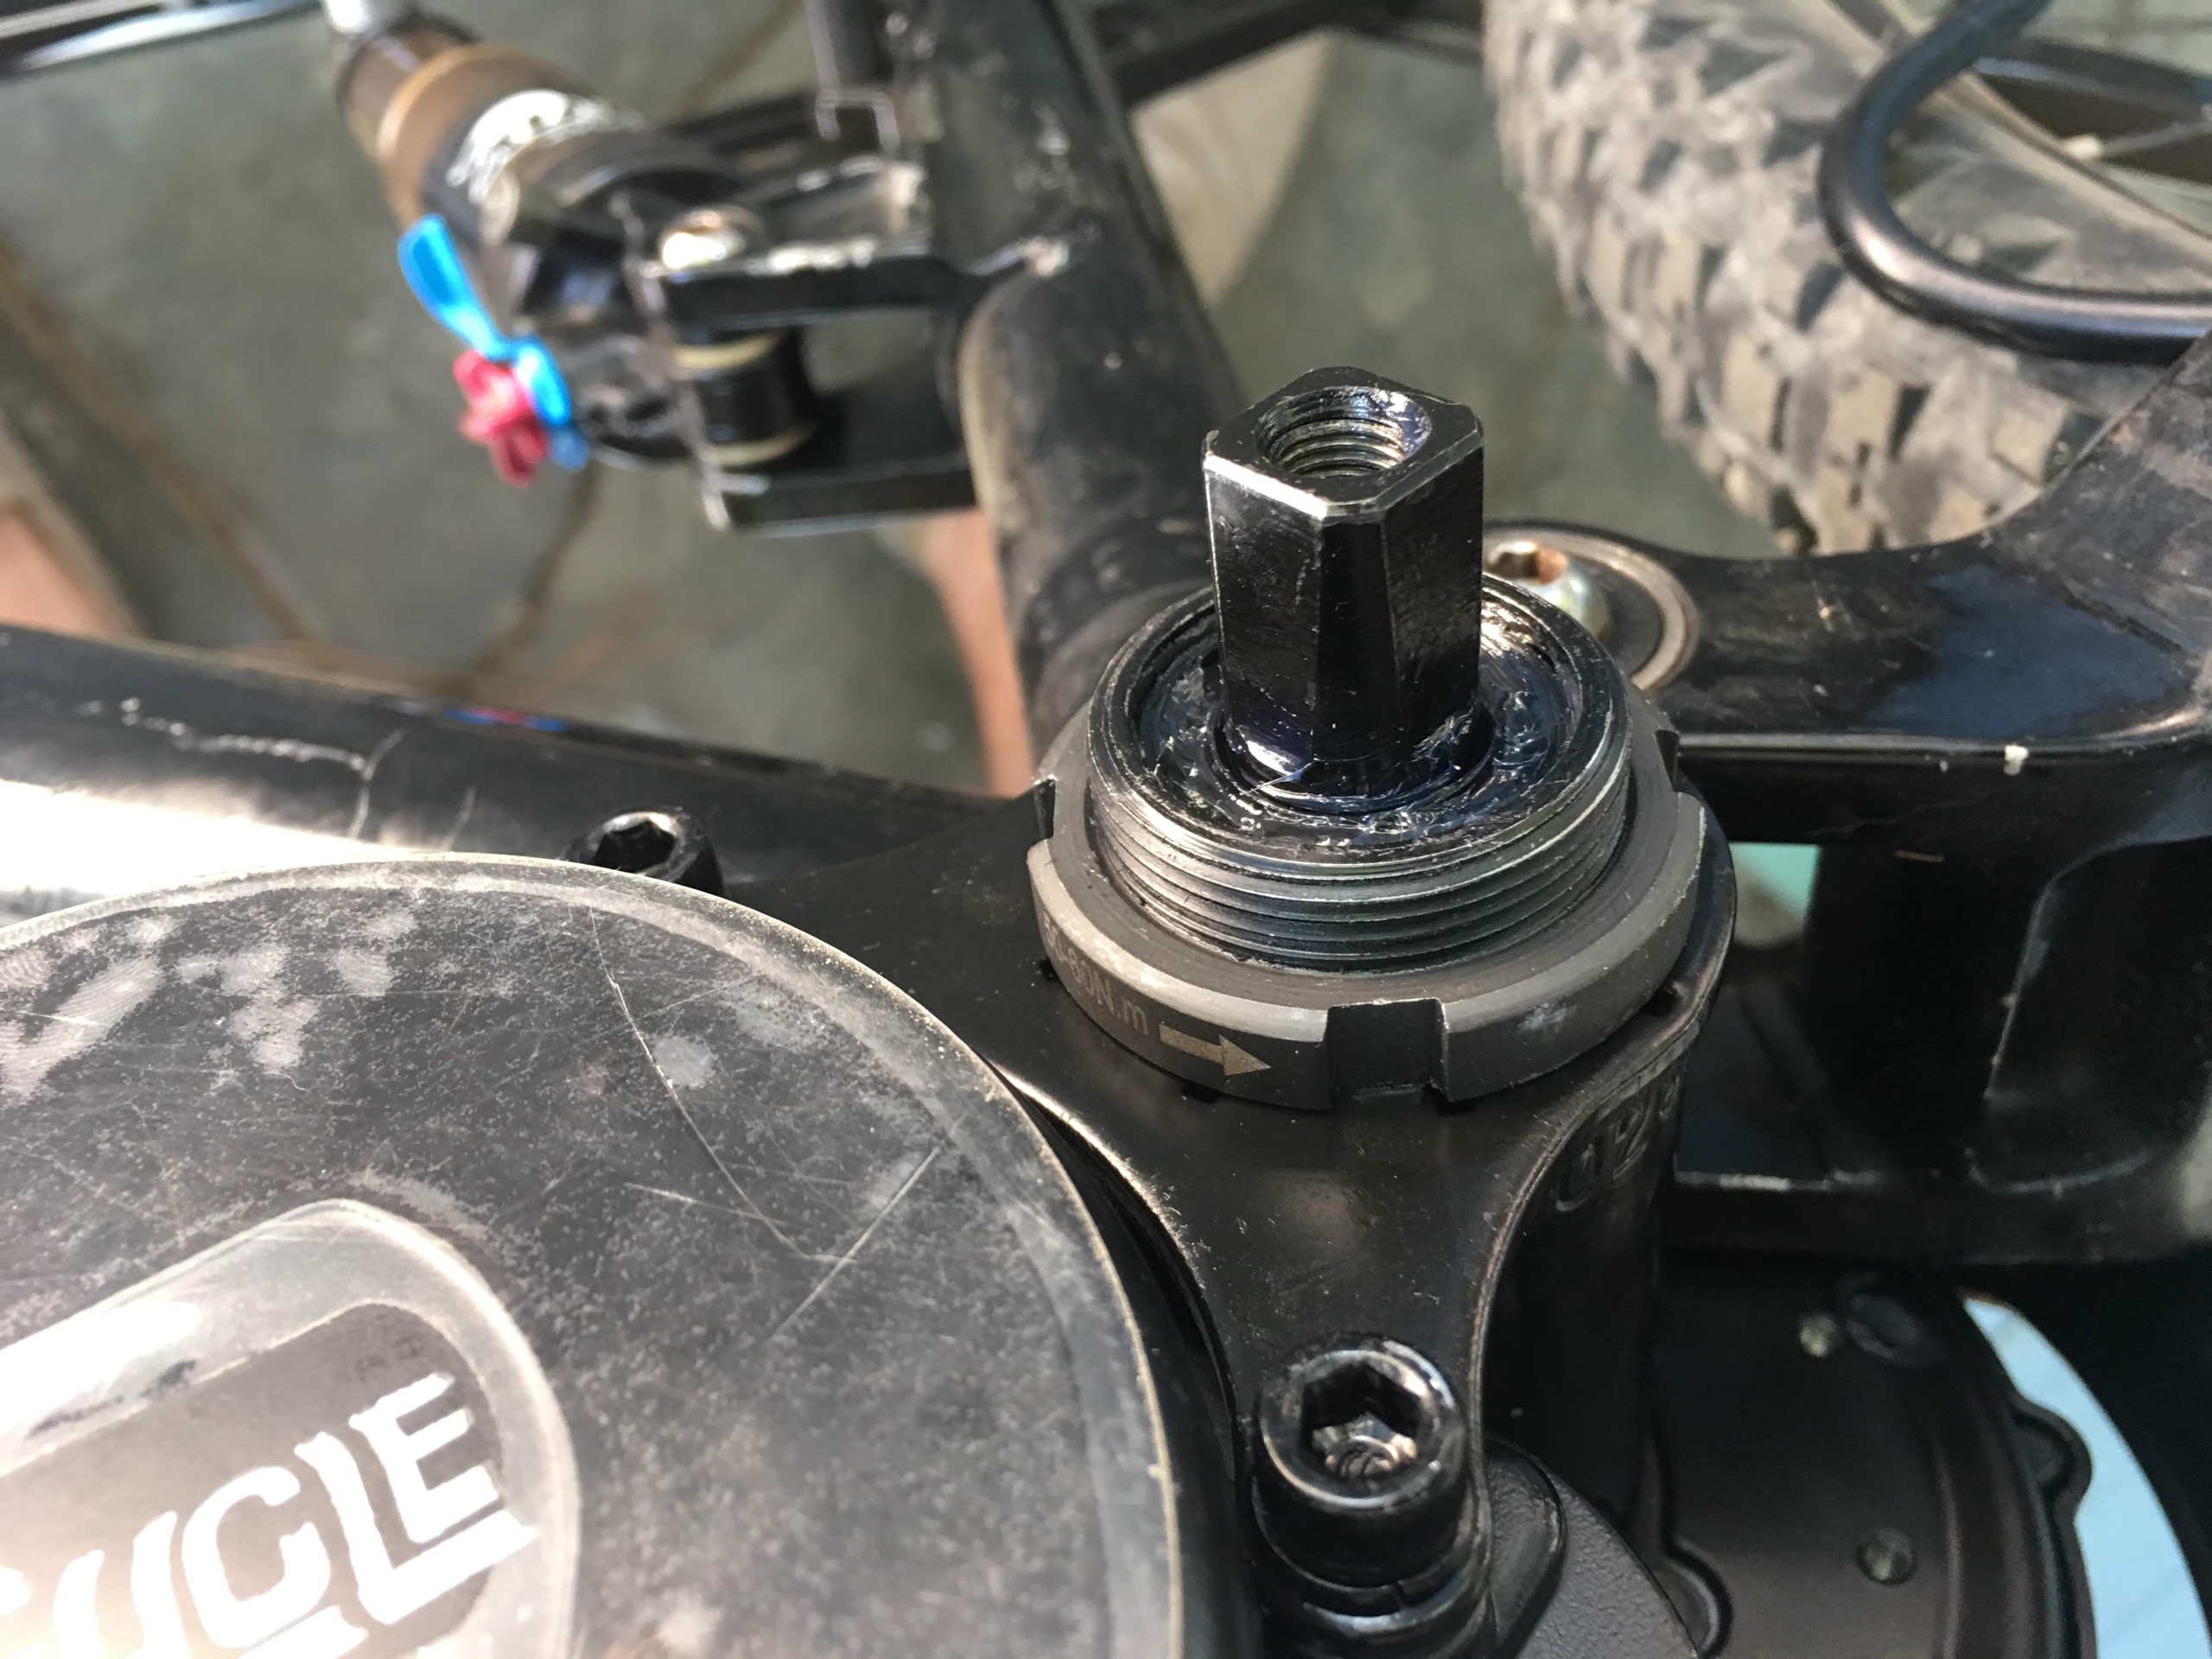
You need a giant Allen key to remove the pedals. And you’ll need that special tool to remove the bottom bracket. Once your bottom bracket is removed, it looks like this:
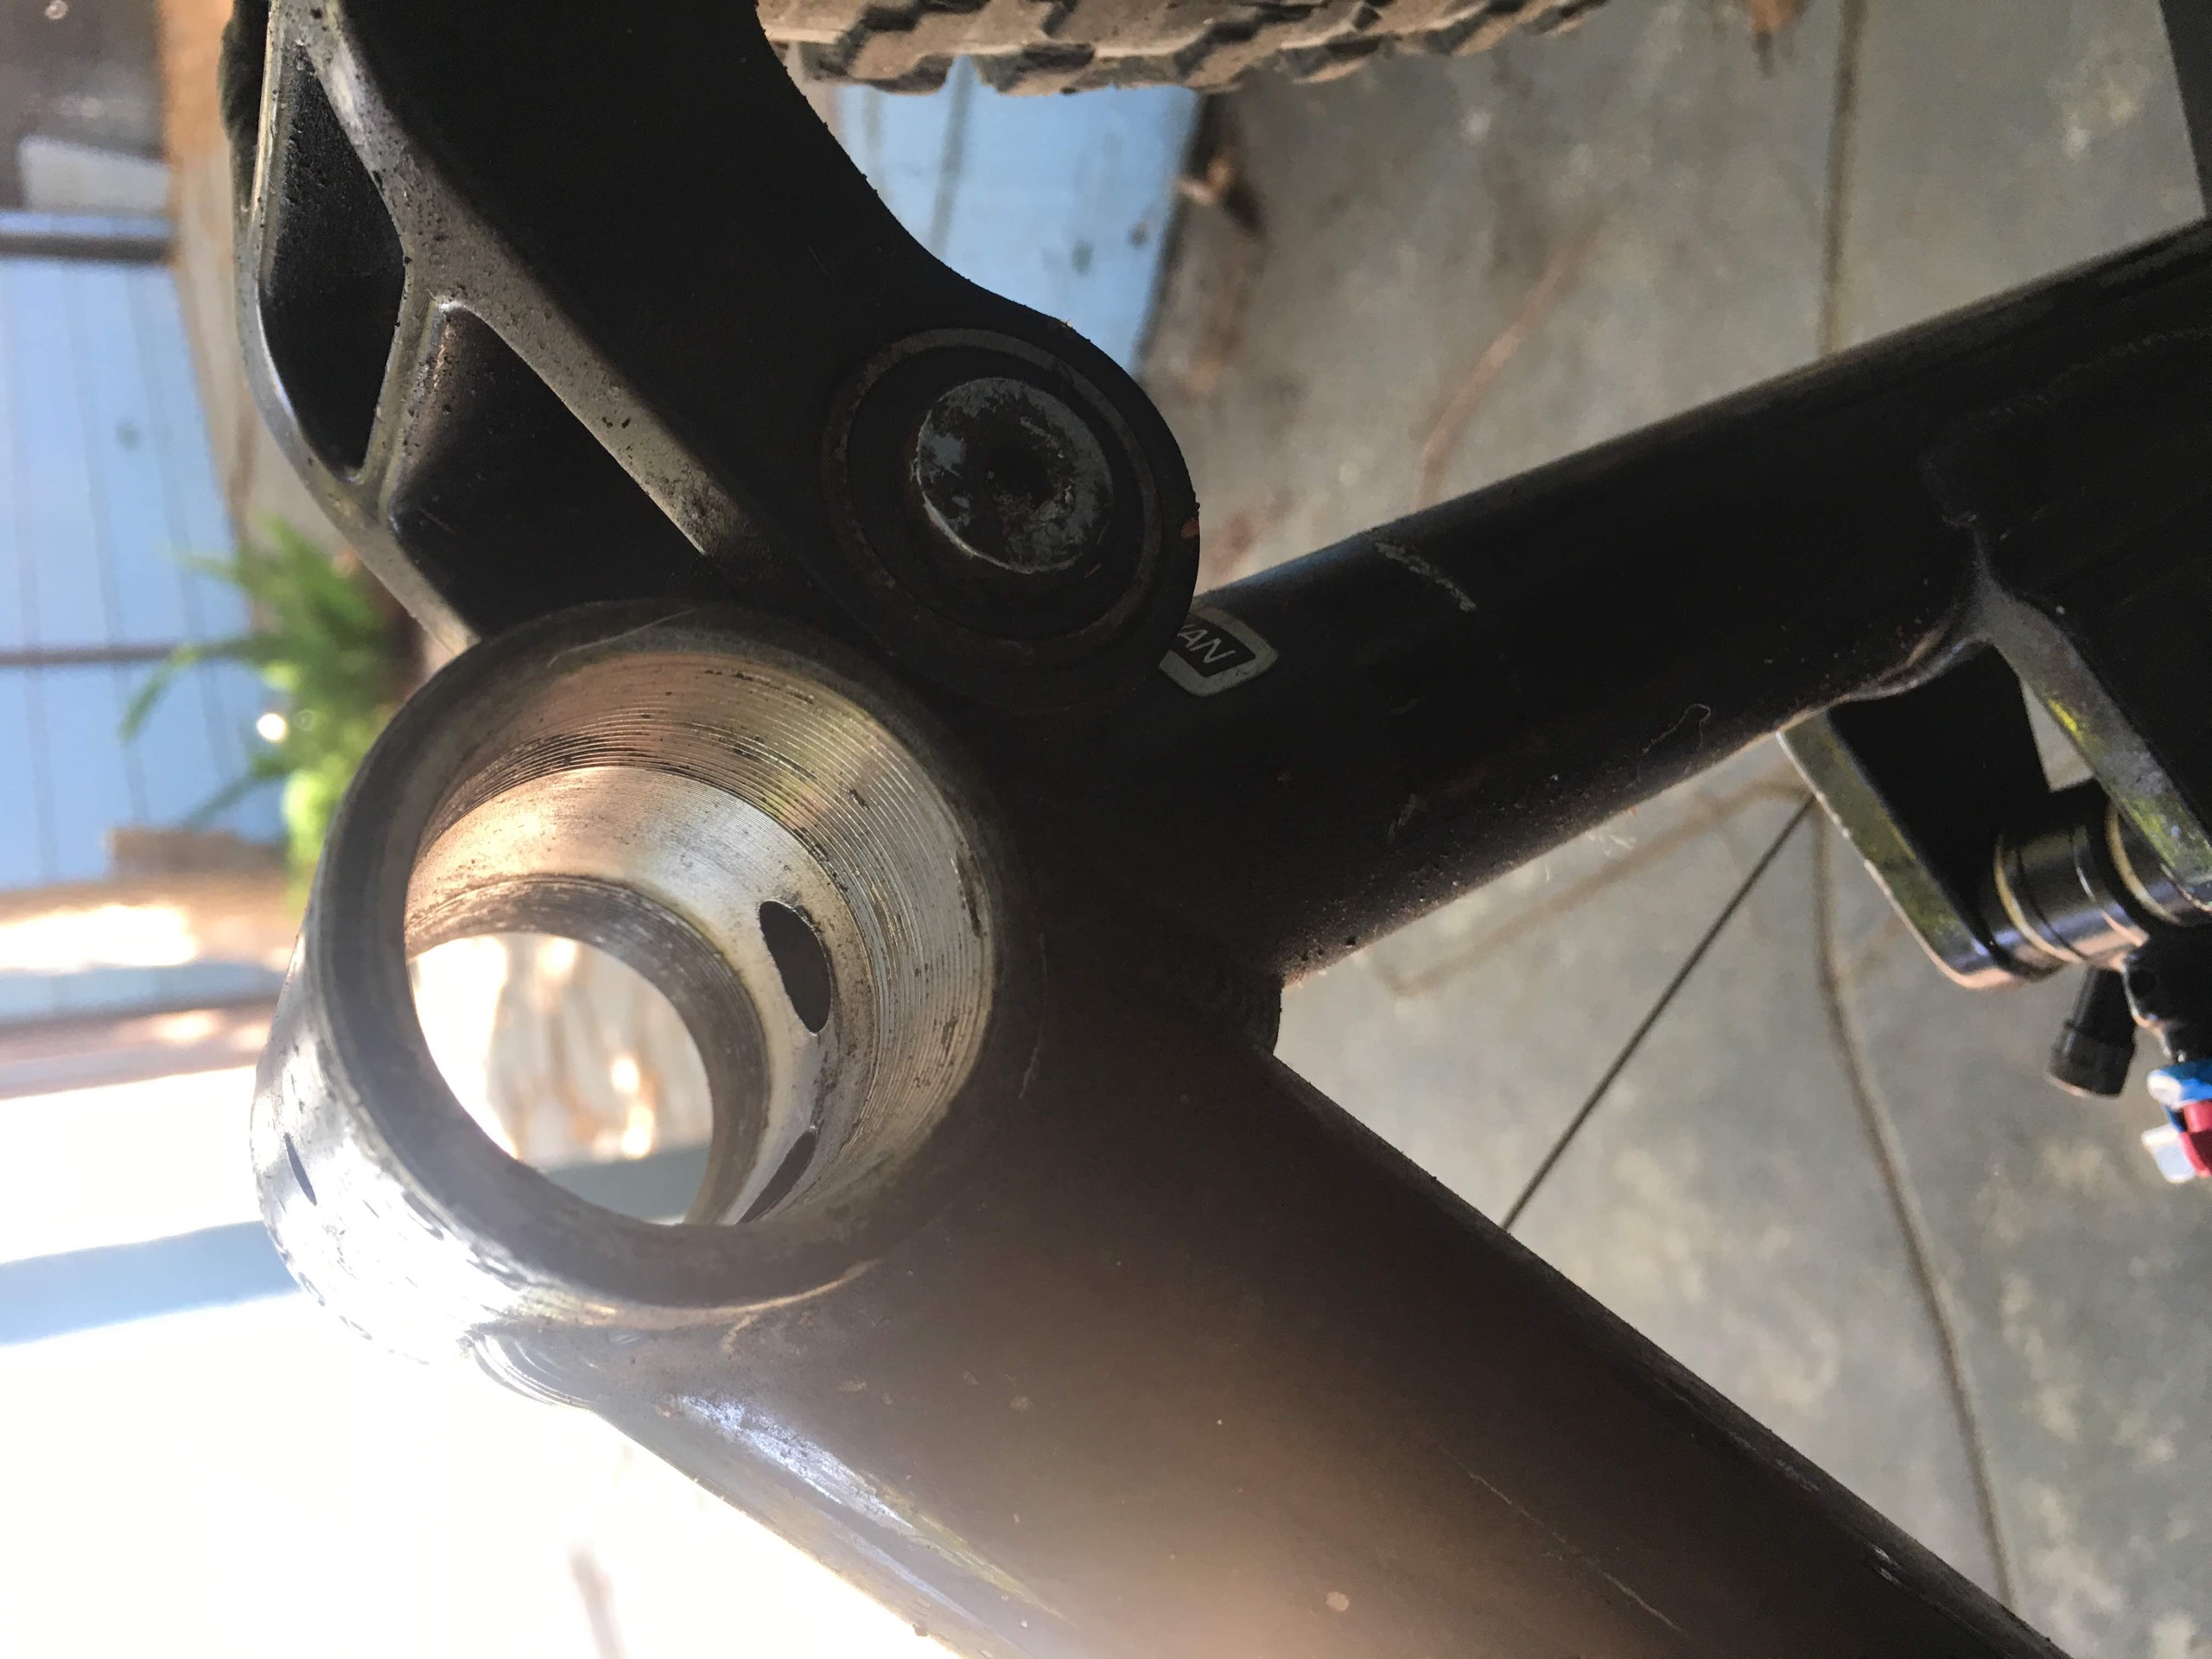
We’re going to put the motor in that hole.
Mount Motor
The whole motor assembly slides in and looks like this:
Then you add a plate with a couple of bolts:
And then you screw down the big nut that holds the motor on. Remember, not this wrench (don’t make my mistake):

This wrench:
When the nut is on it looks like this:
…You probably could have guessed that :)
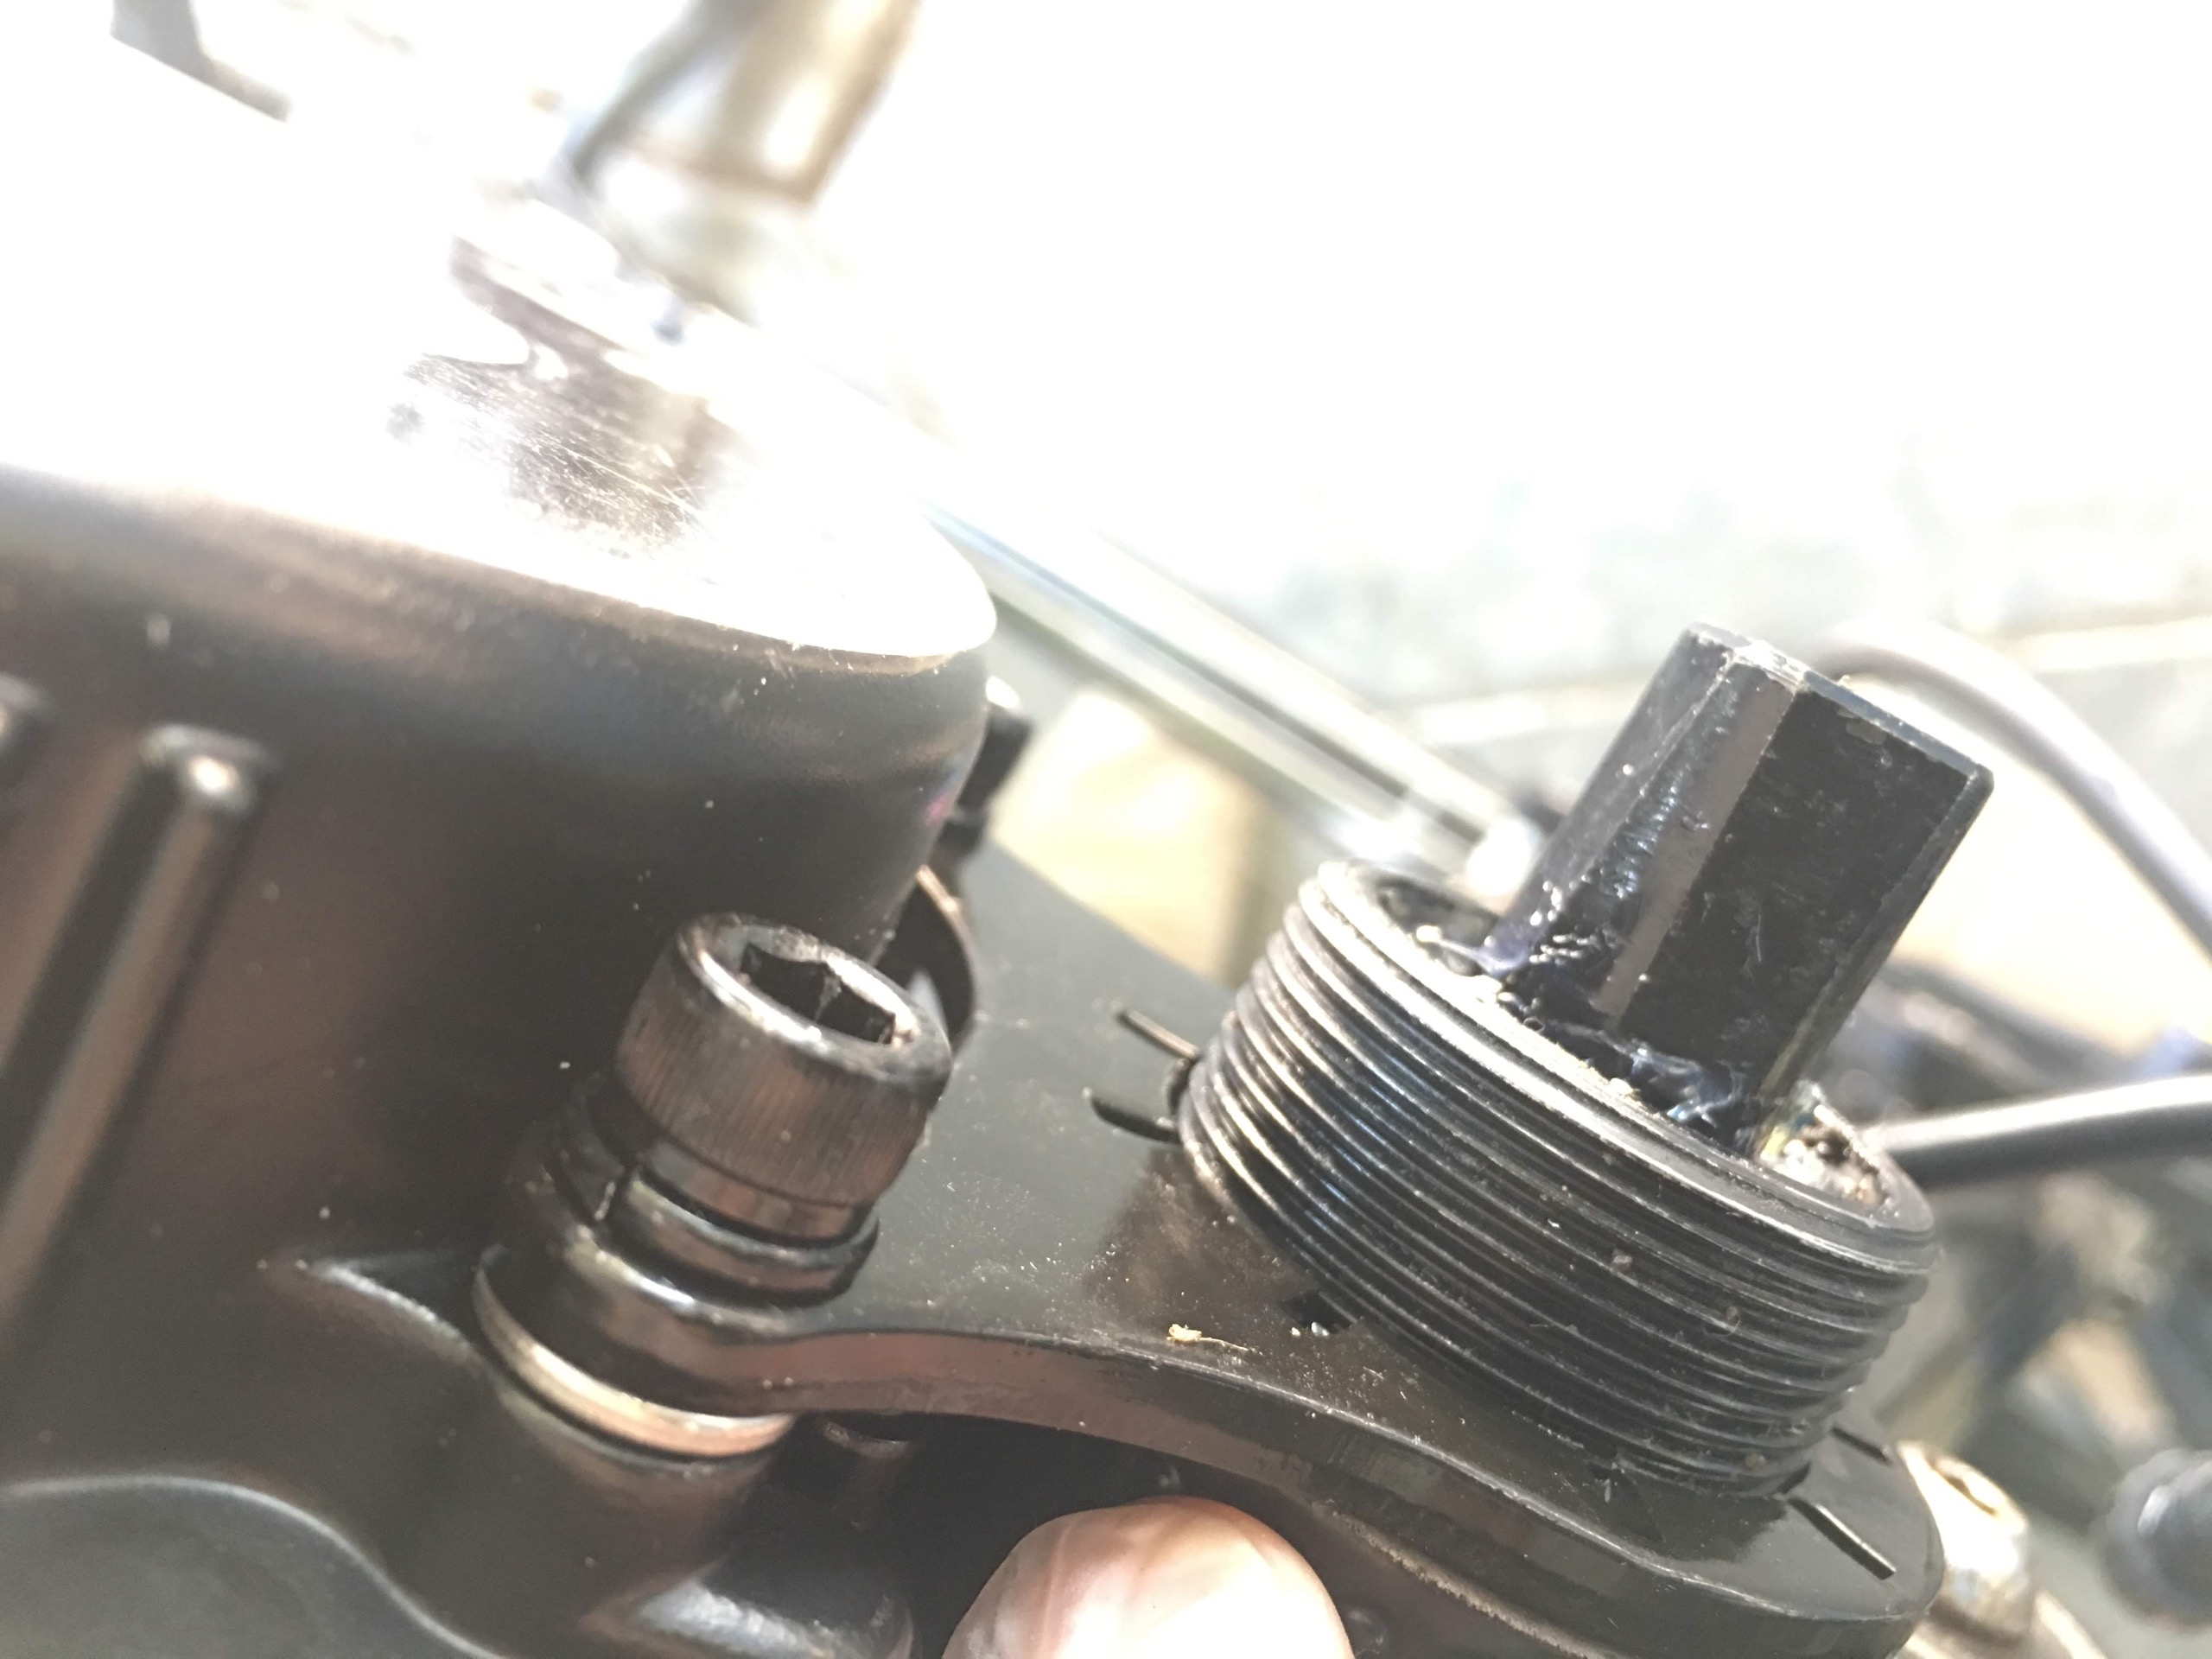
Then you put on the gear:

The kit comes with some washers so you can adjust where the gear sits. On my frame it was extremely, incredibly close to rubbing. Check out how tight the tolerance is on this:
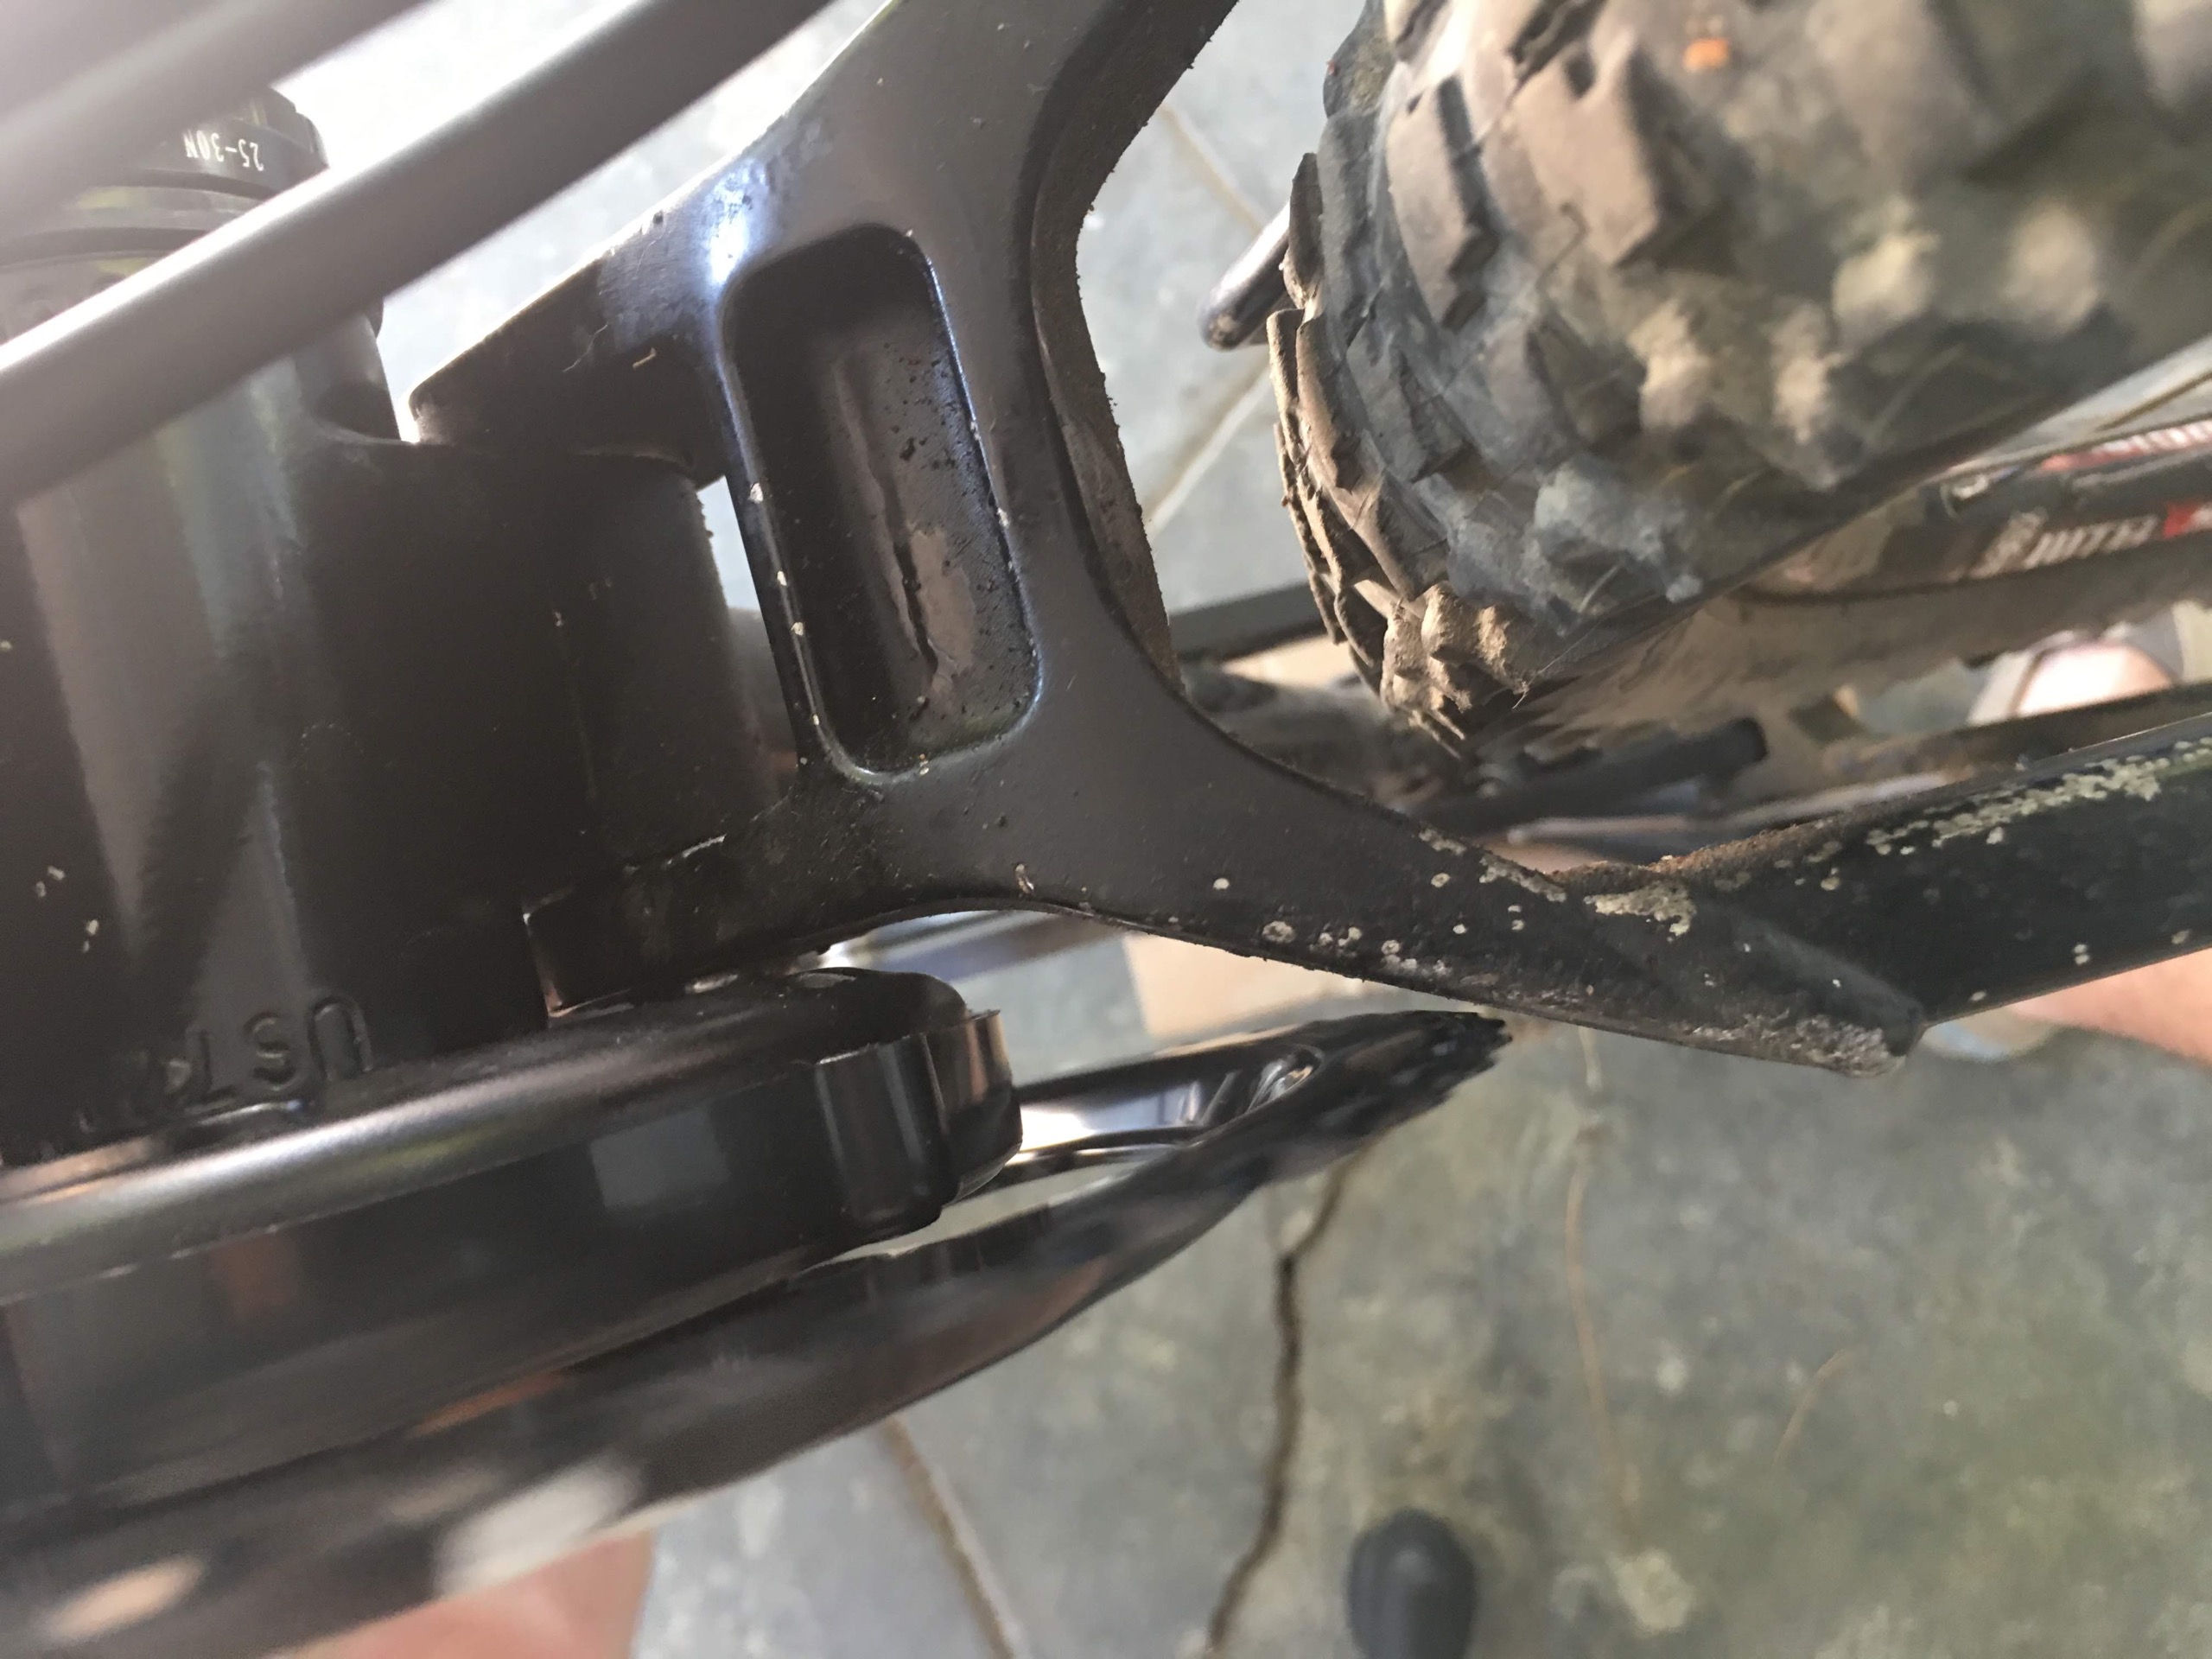
I was very concerned about this rubbing or banging, but it hasn’t been a problem when riding.
Last step is putting the pedal cranks and pedals on:
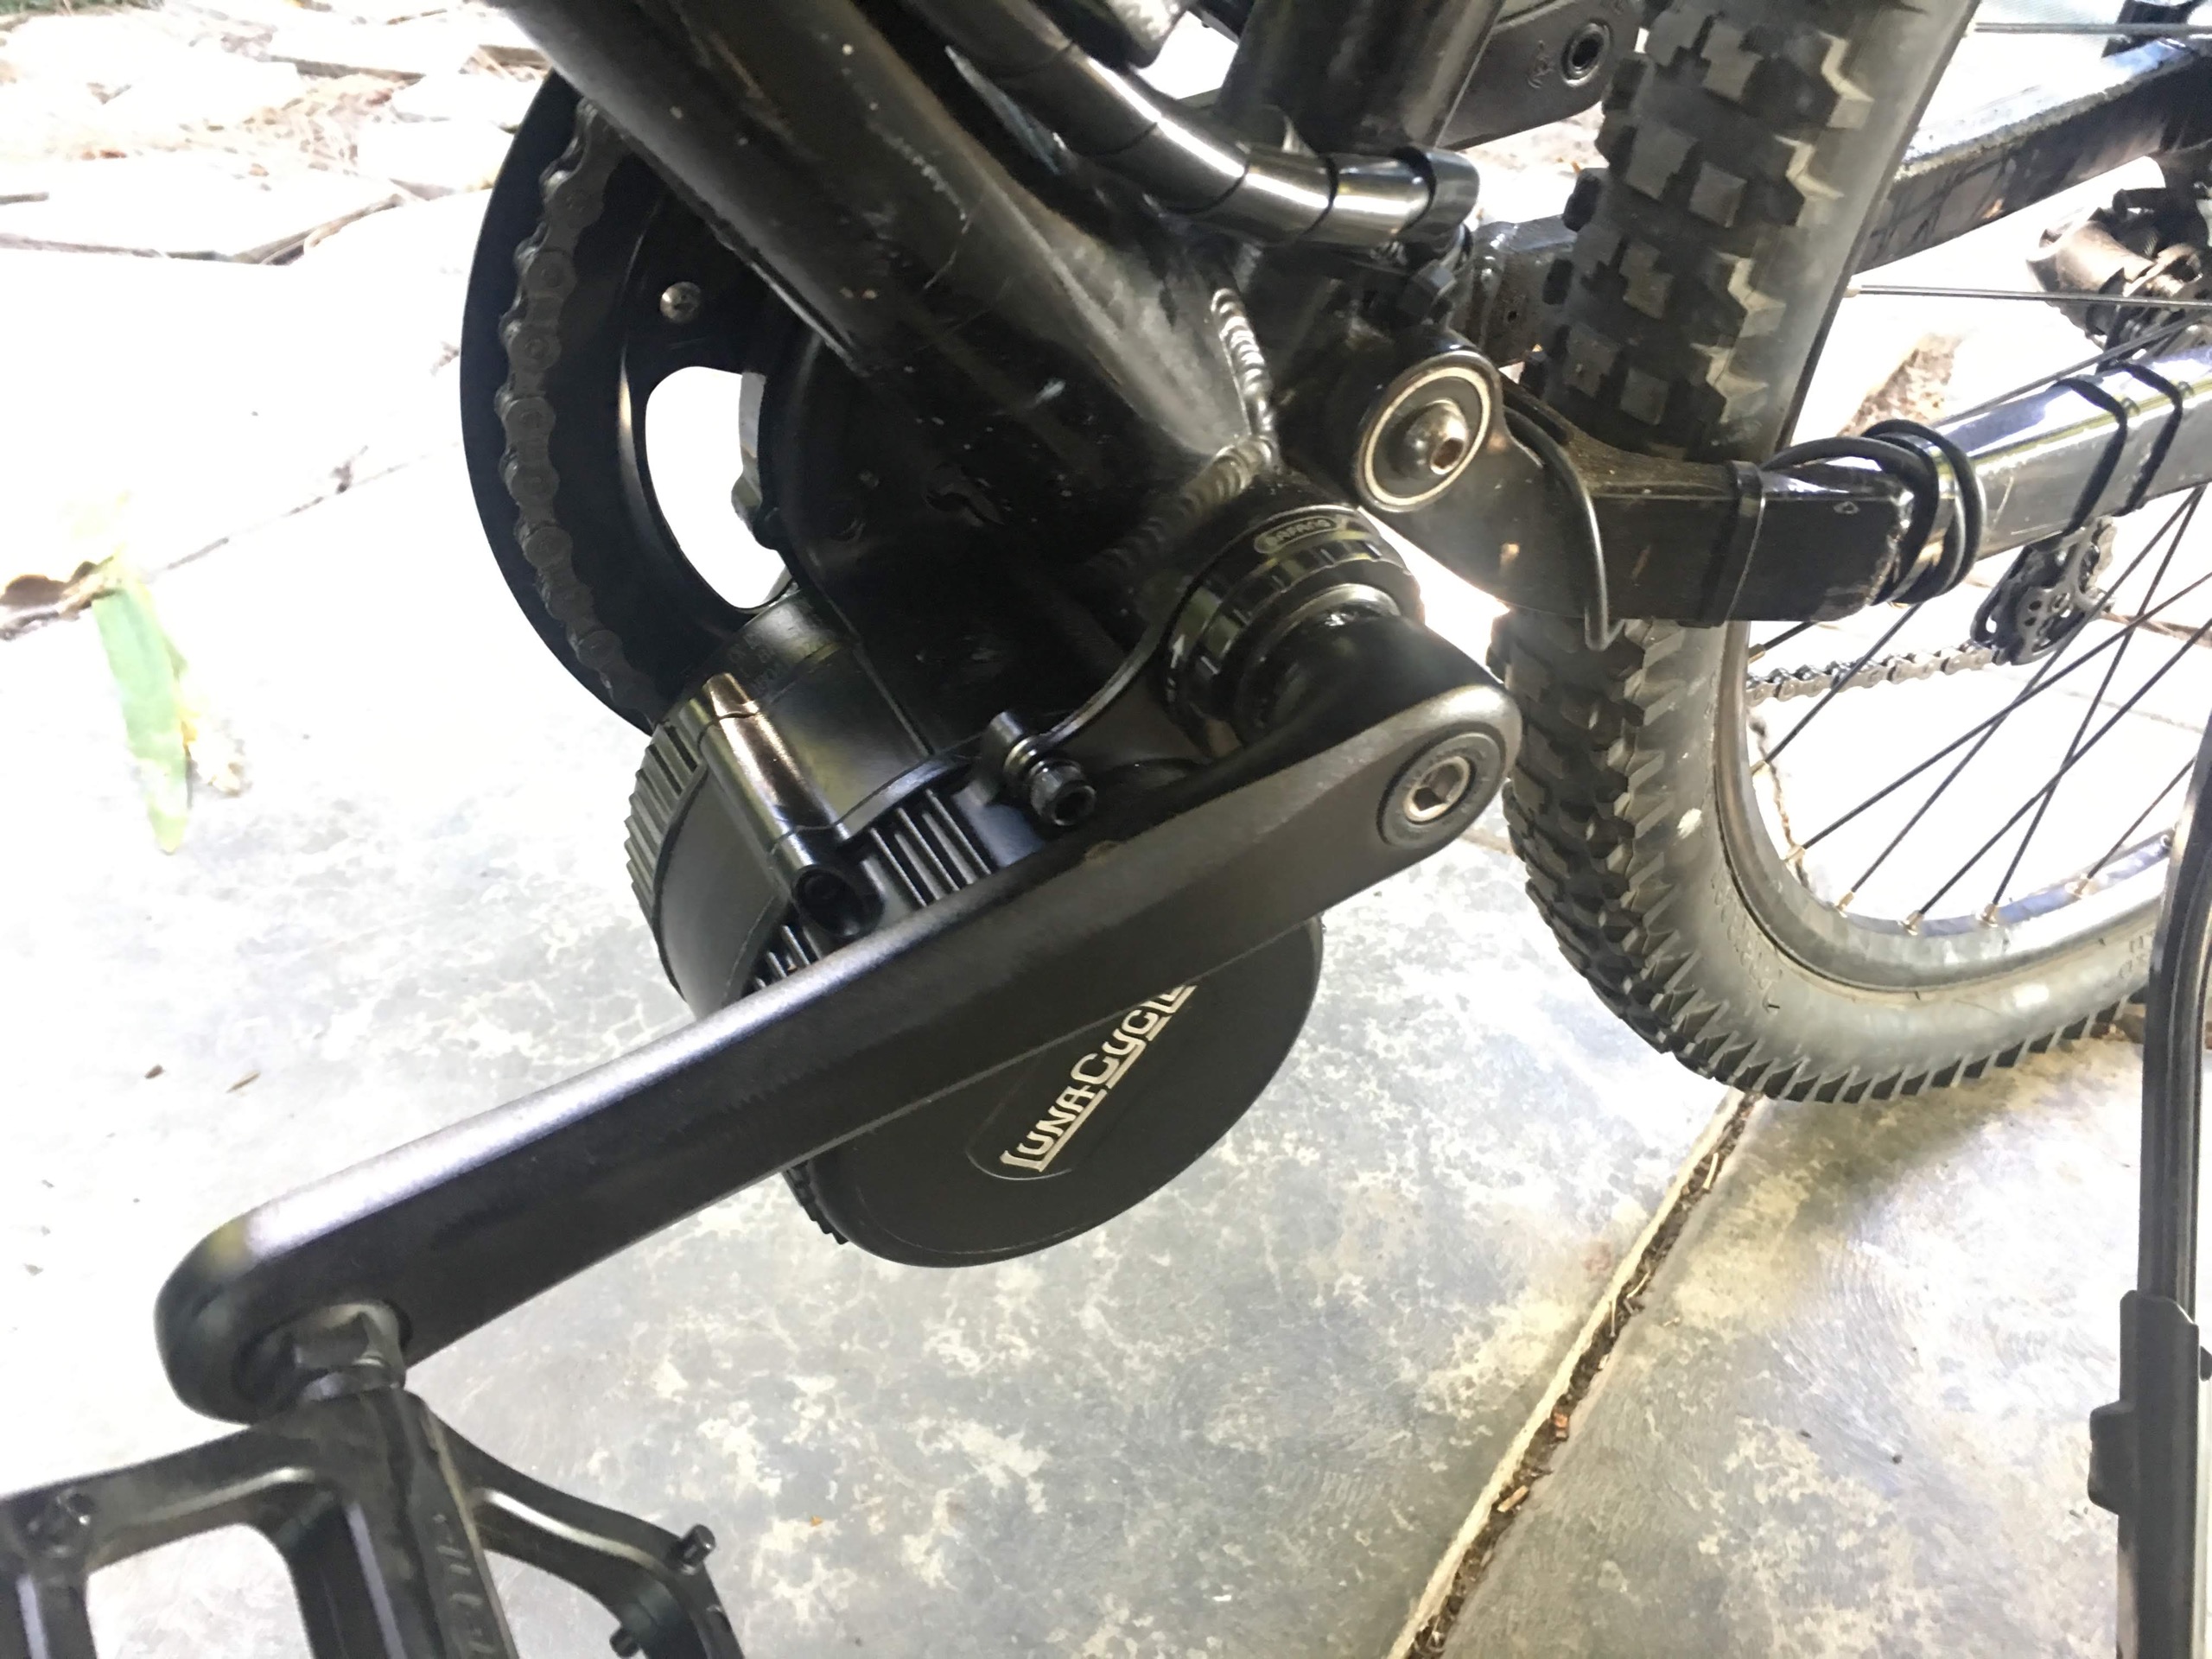
You can now re-install the bike chain. Now the motor is connected to the wheel, we just need power and control.
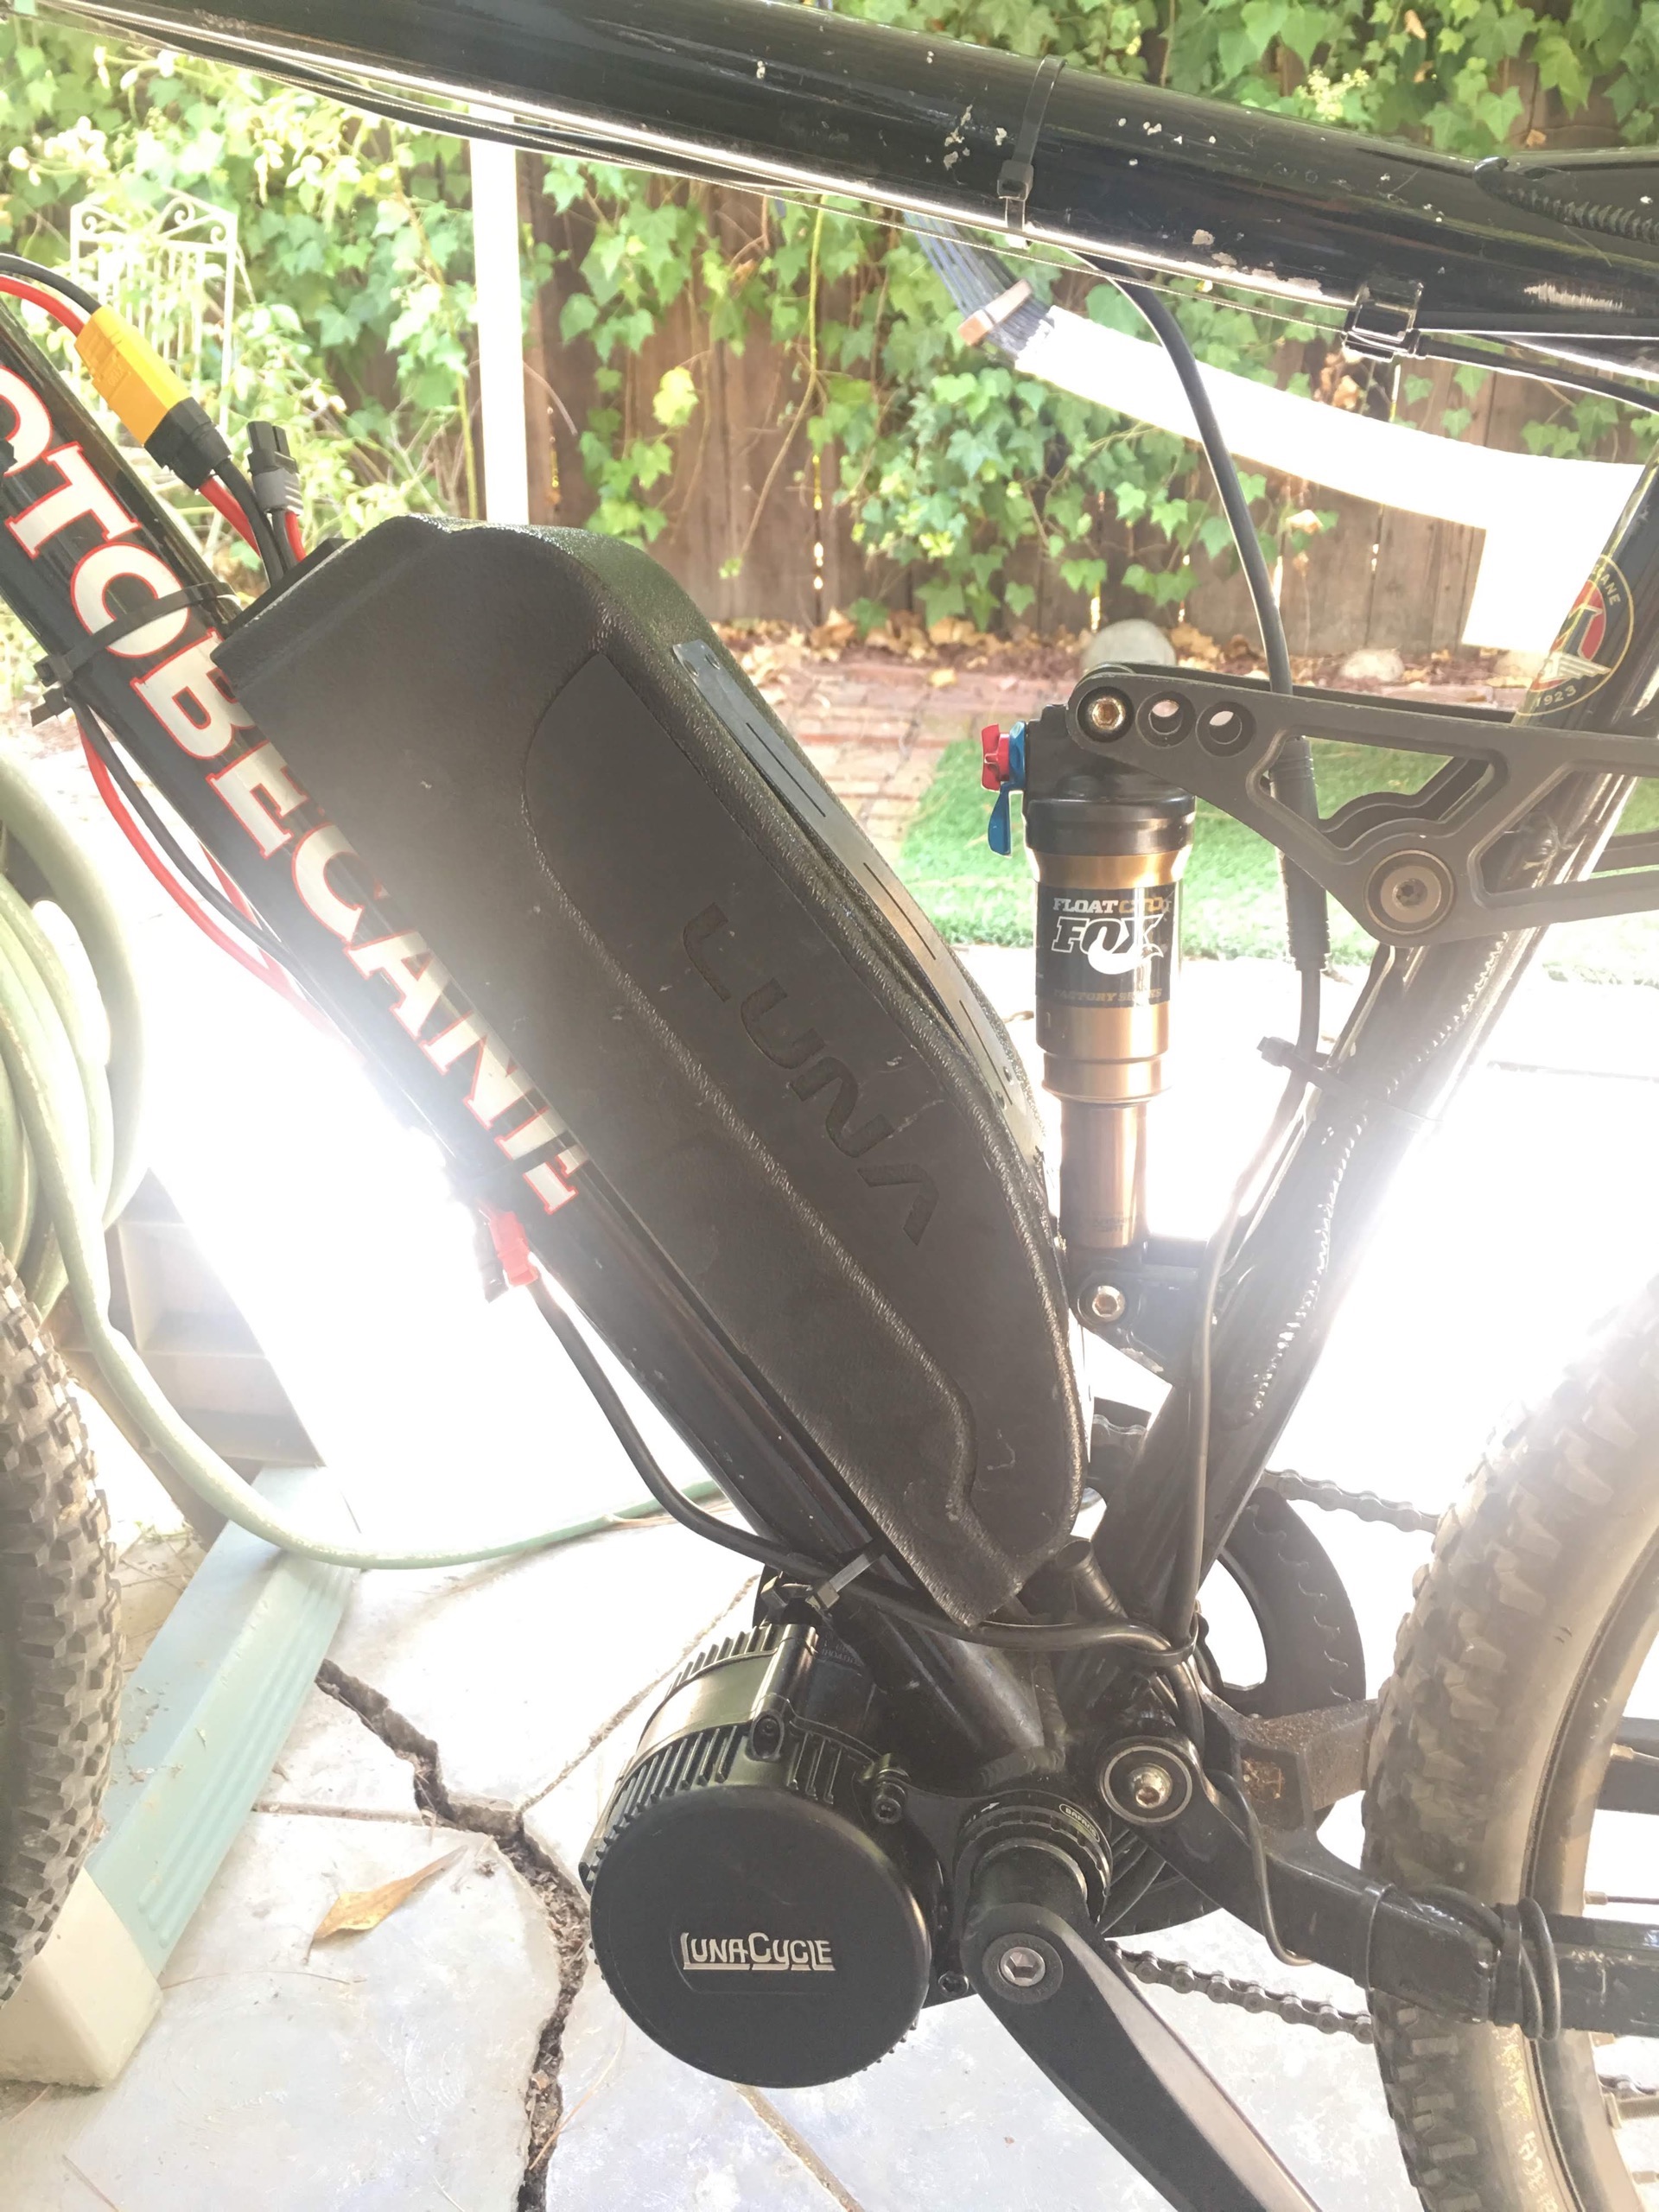
Mount Battery
The Luna Wolf battery has a magnet mount system. I found that, while a cool idea, this is absolutely impractical. It falls off on the slightest bump. Magnets hold perpendicular force well, but lateral force hardly at all.
I needed a stronger attachment system.
My bike had a pretty big downtube, and the battery had a gap under it:
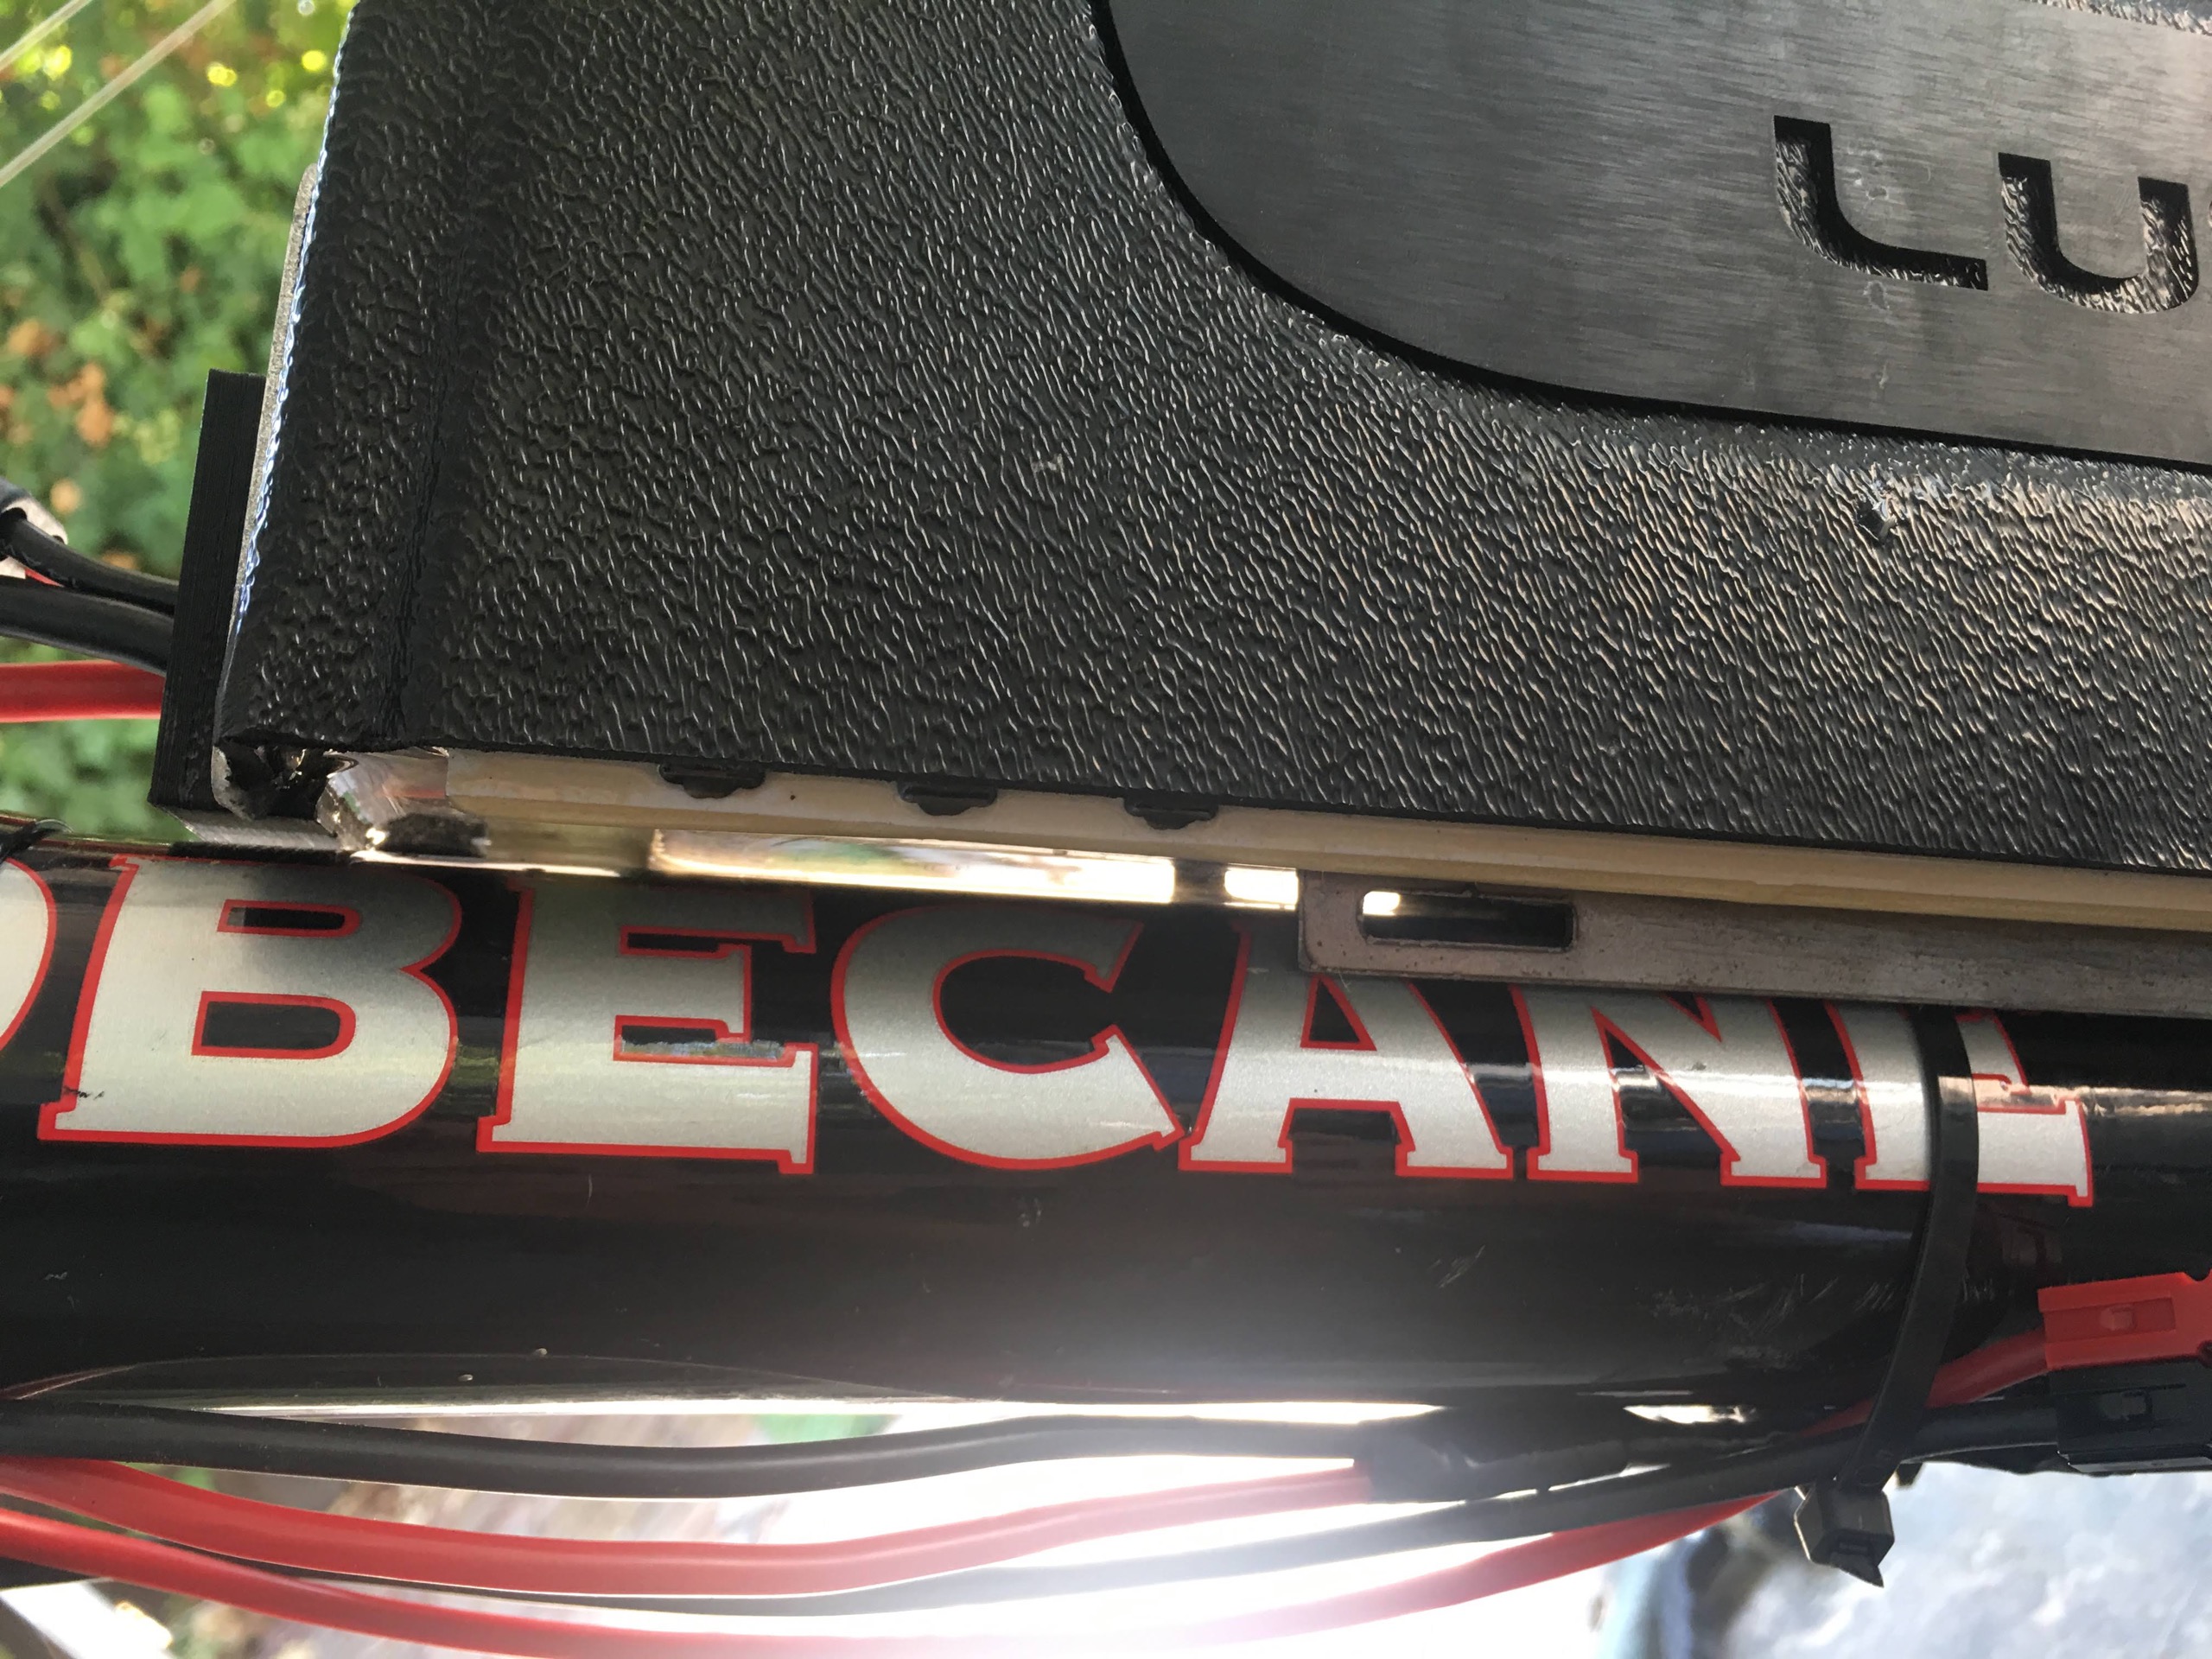
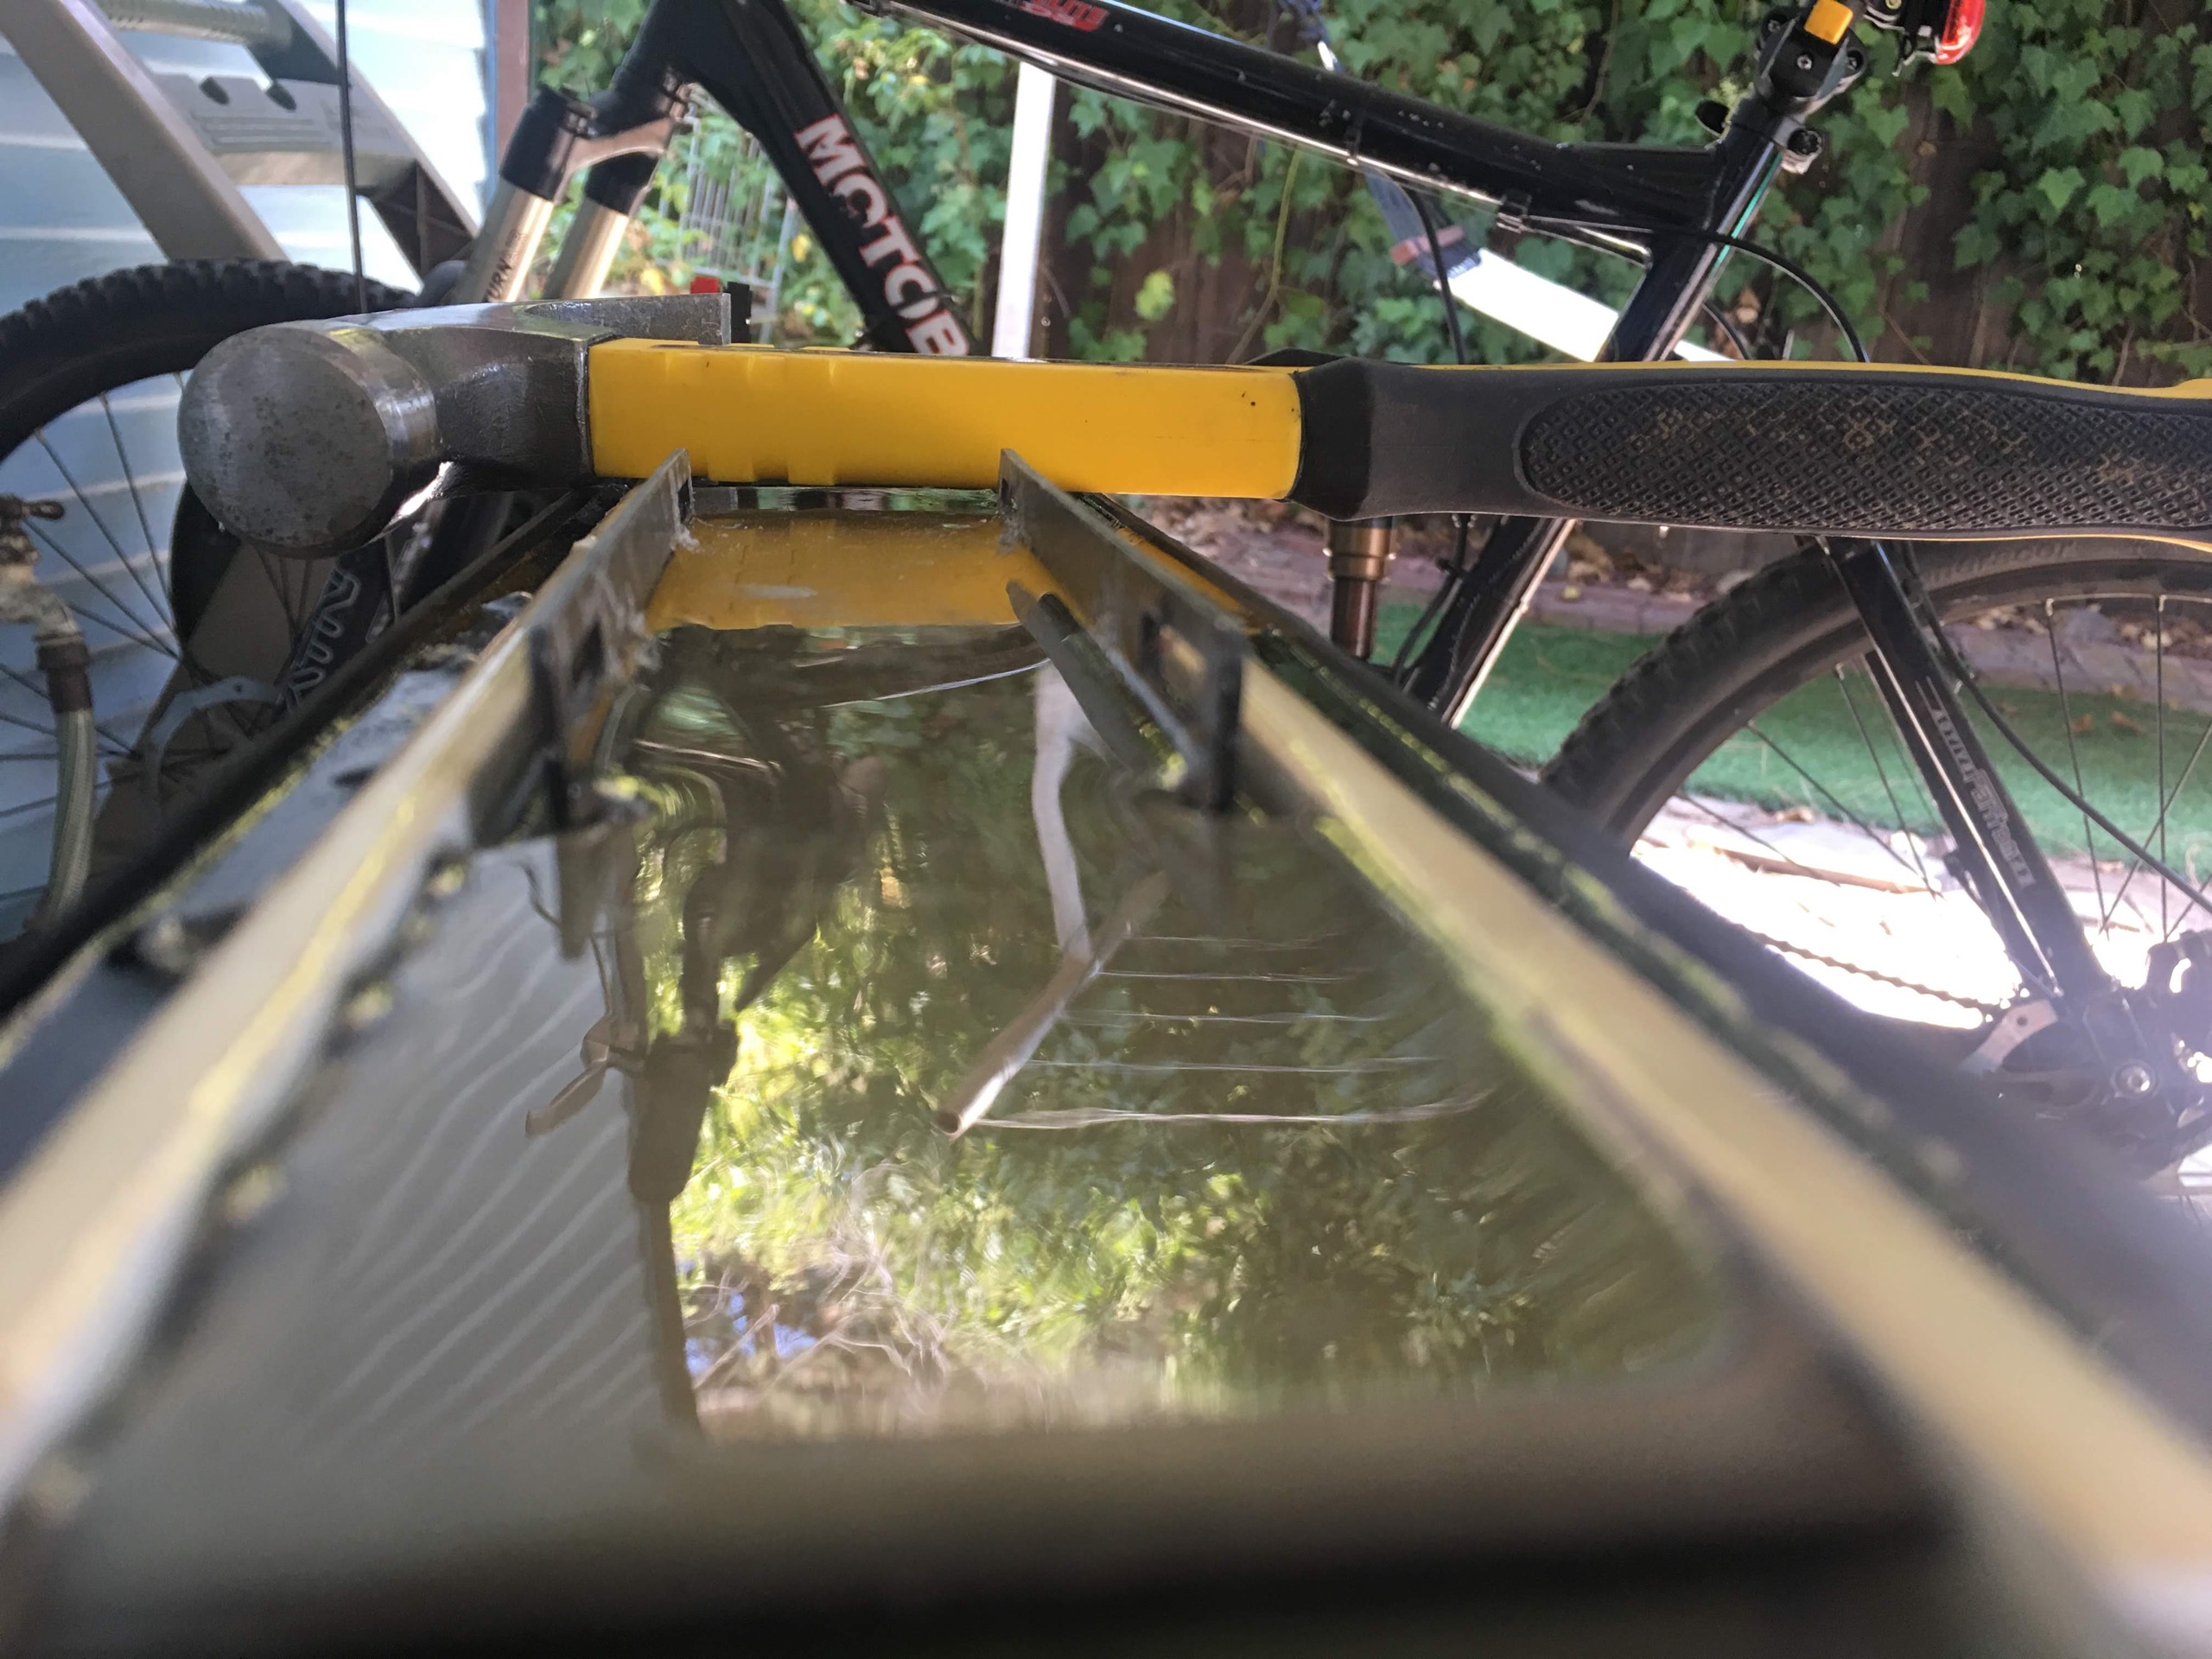
So, I hammered the rails a little wider:
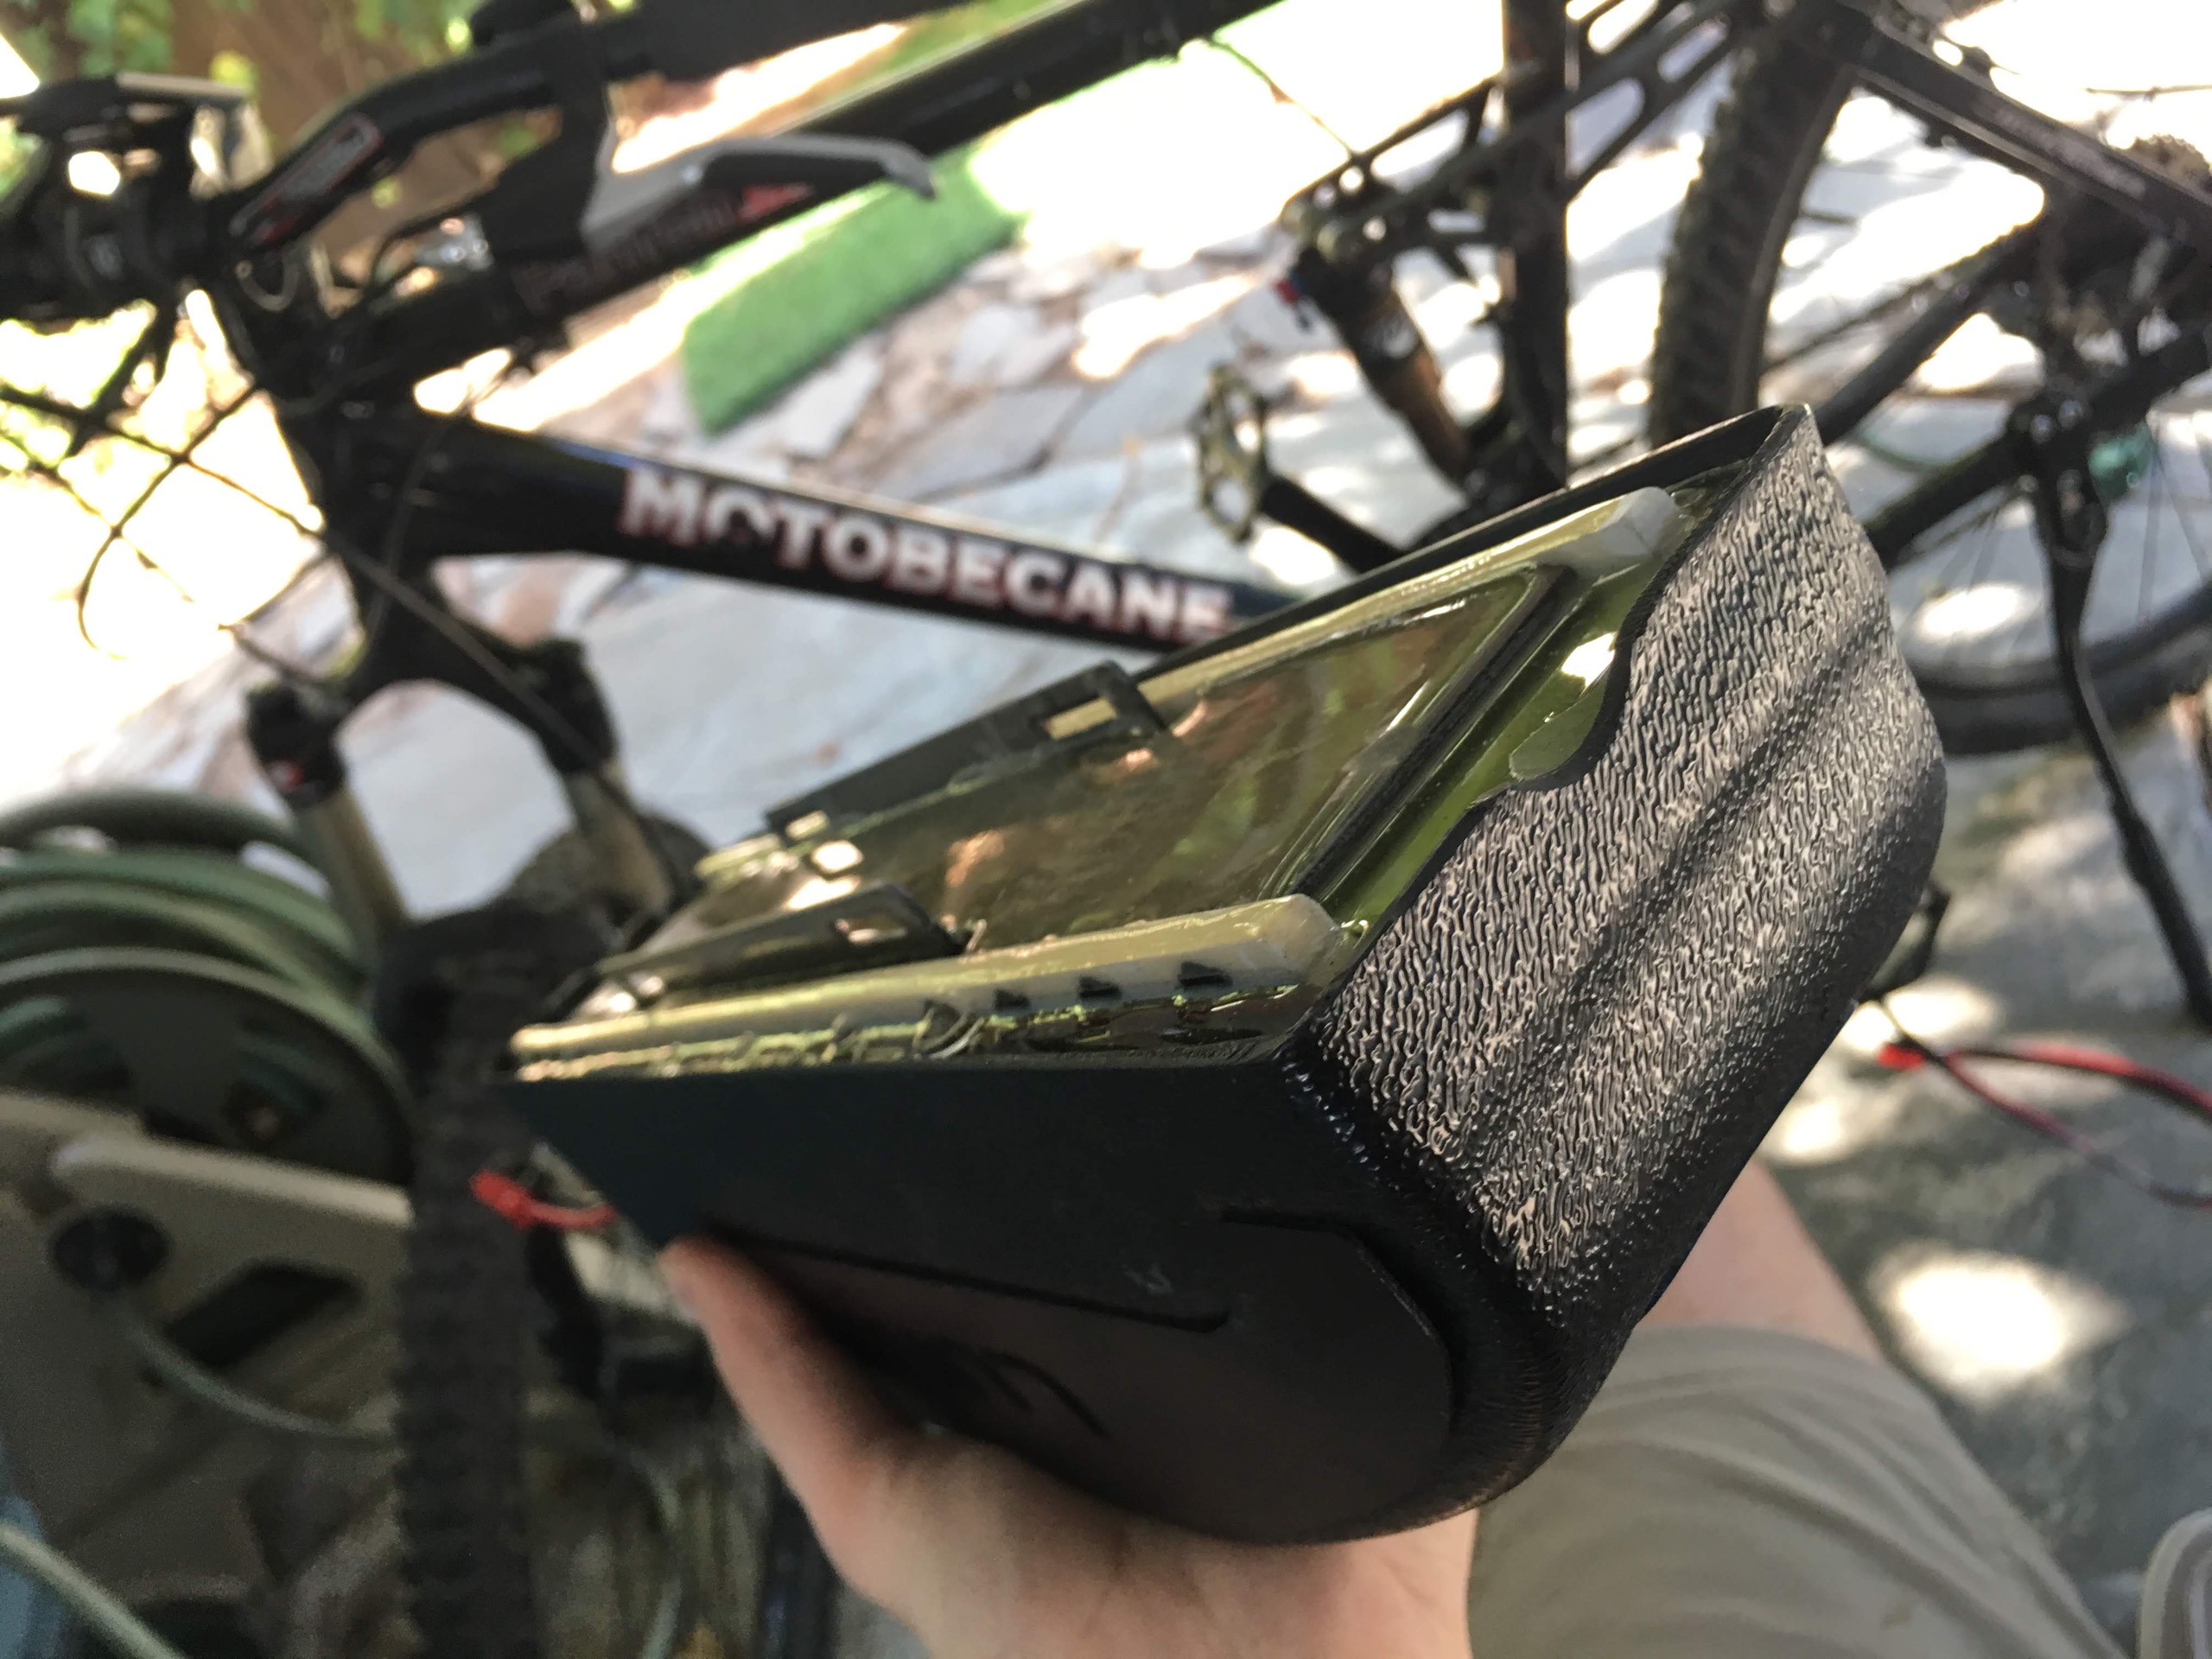
And I filed out a partially round space in the battery’s casing to enable a closer fit:
Then I attached with galvanized pipe hanger. This is sturdy but not easily removable. I’d love a better solution but this has worked for now.
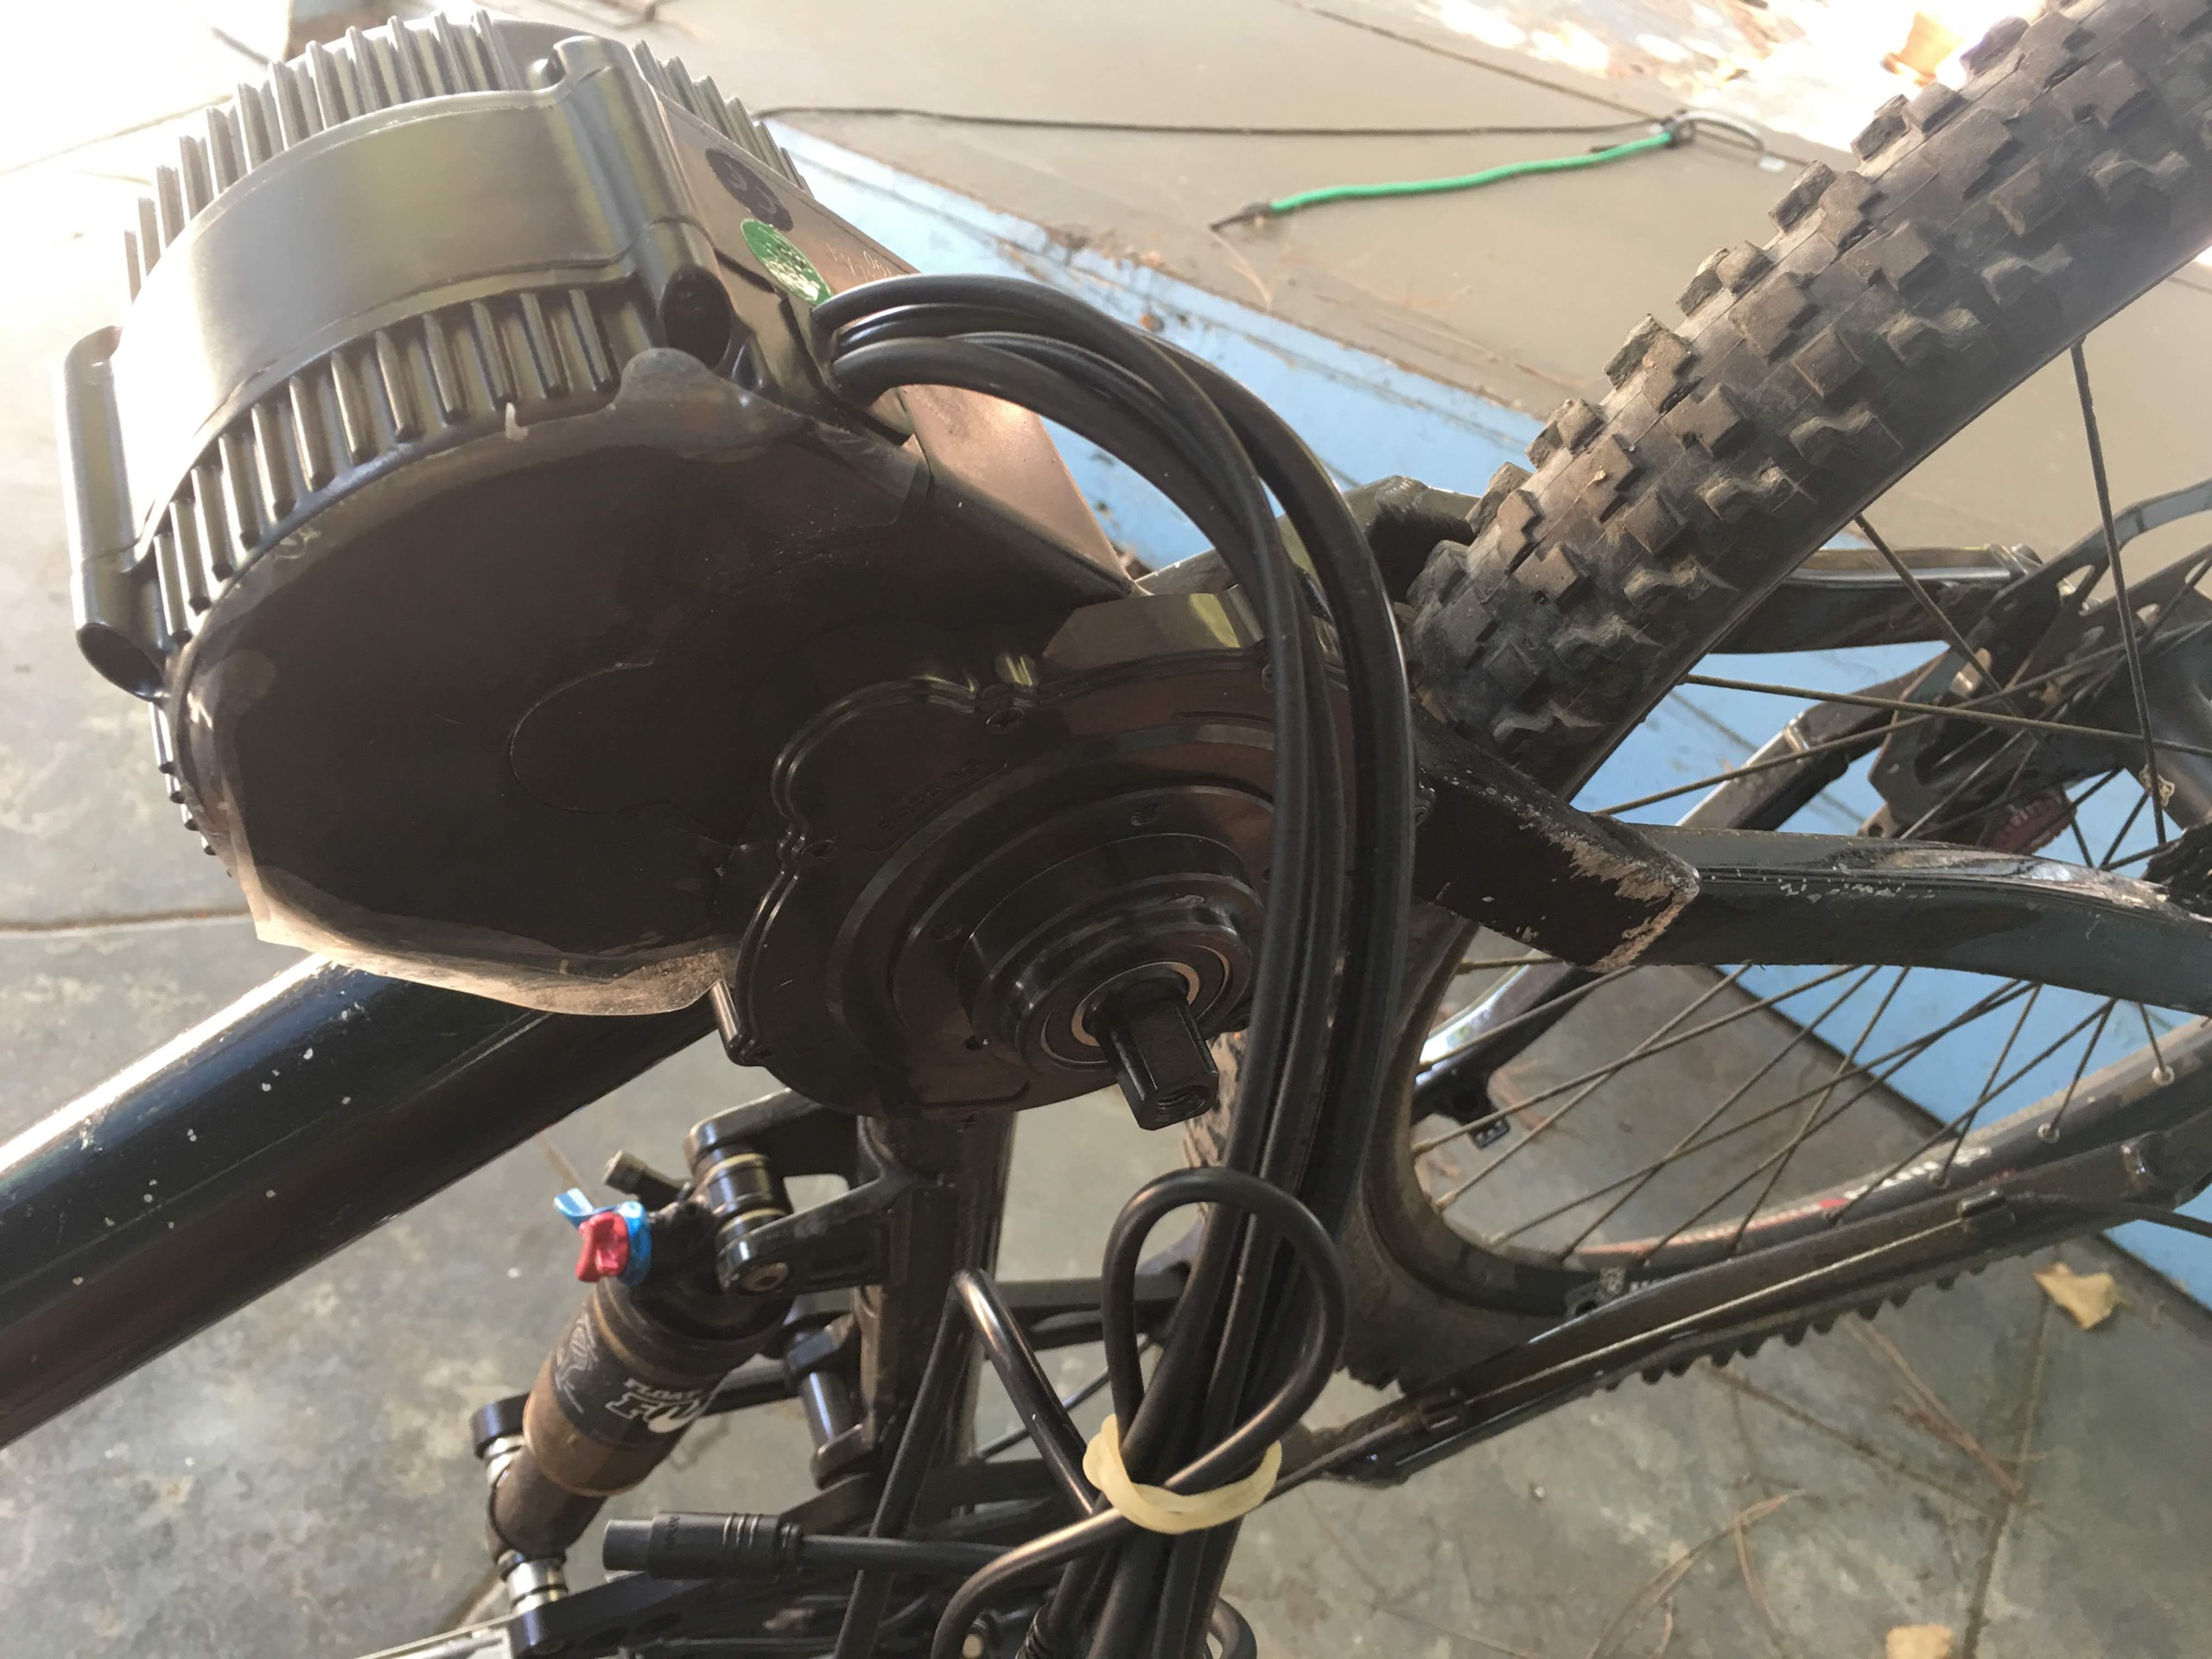
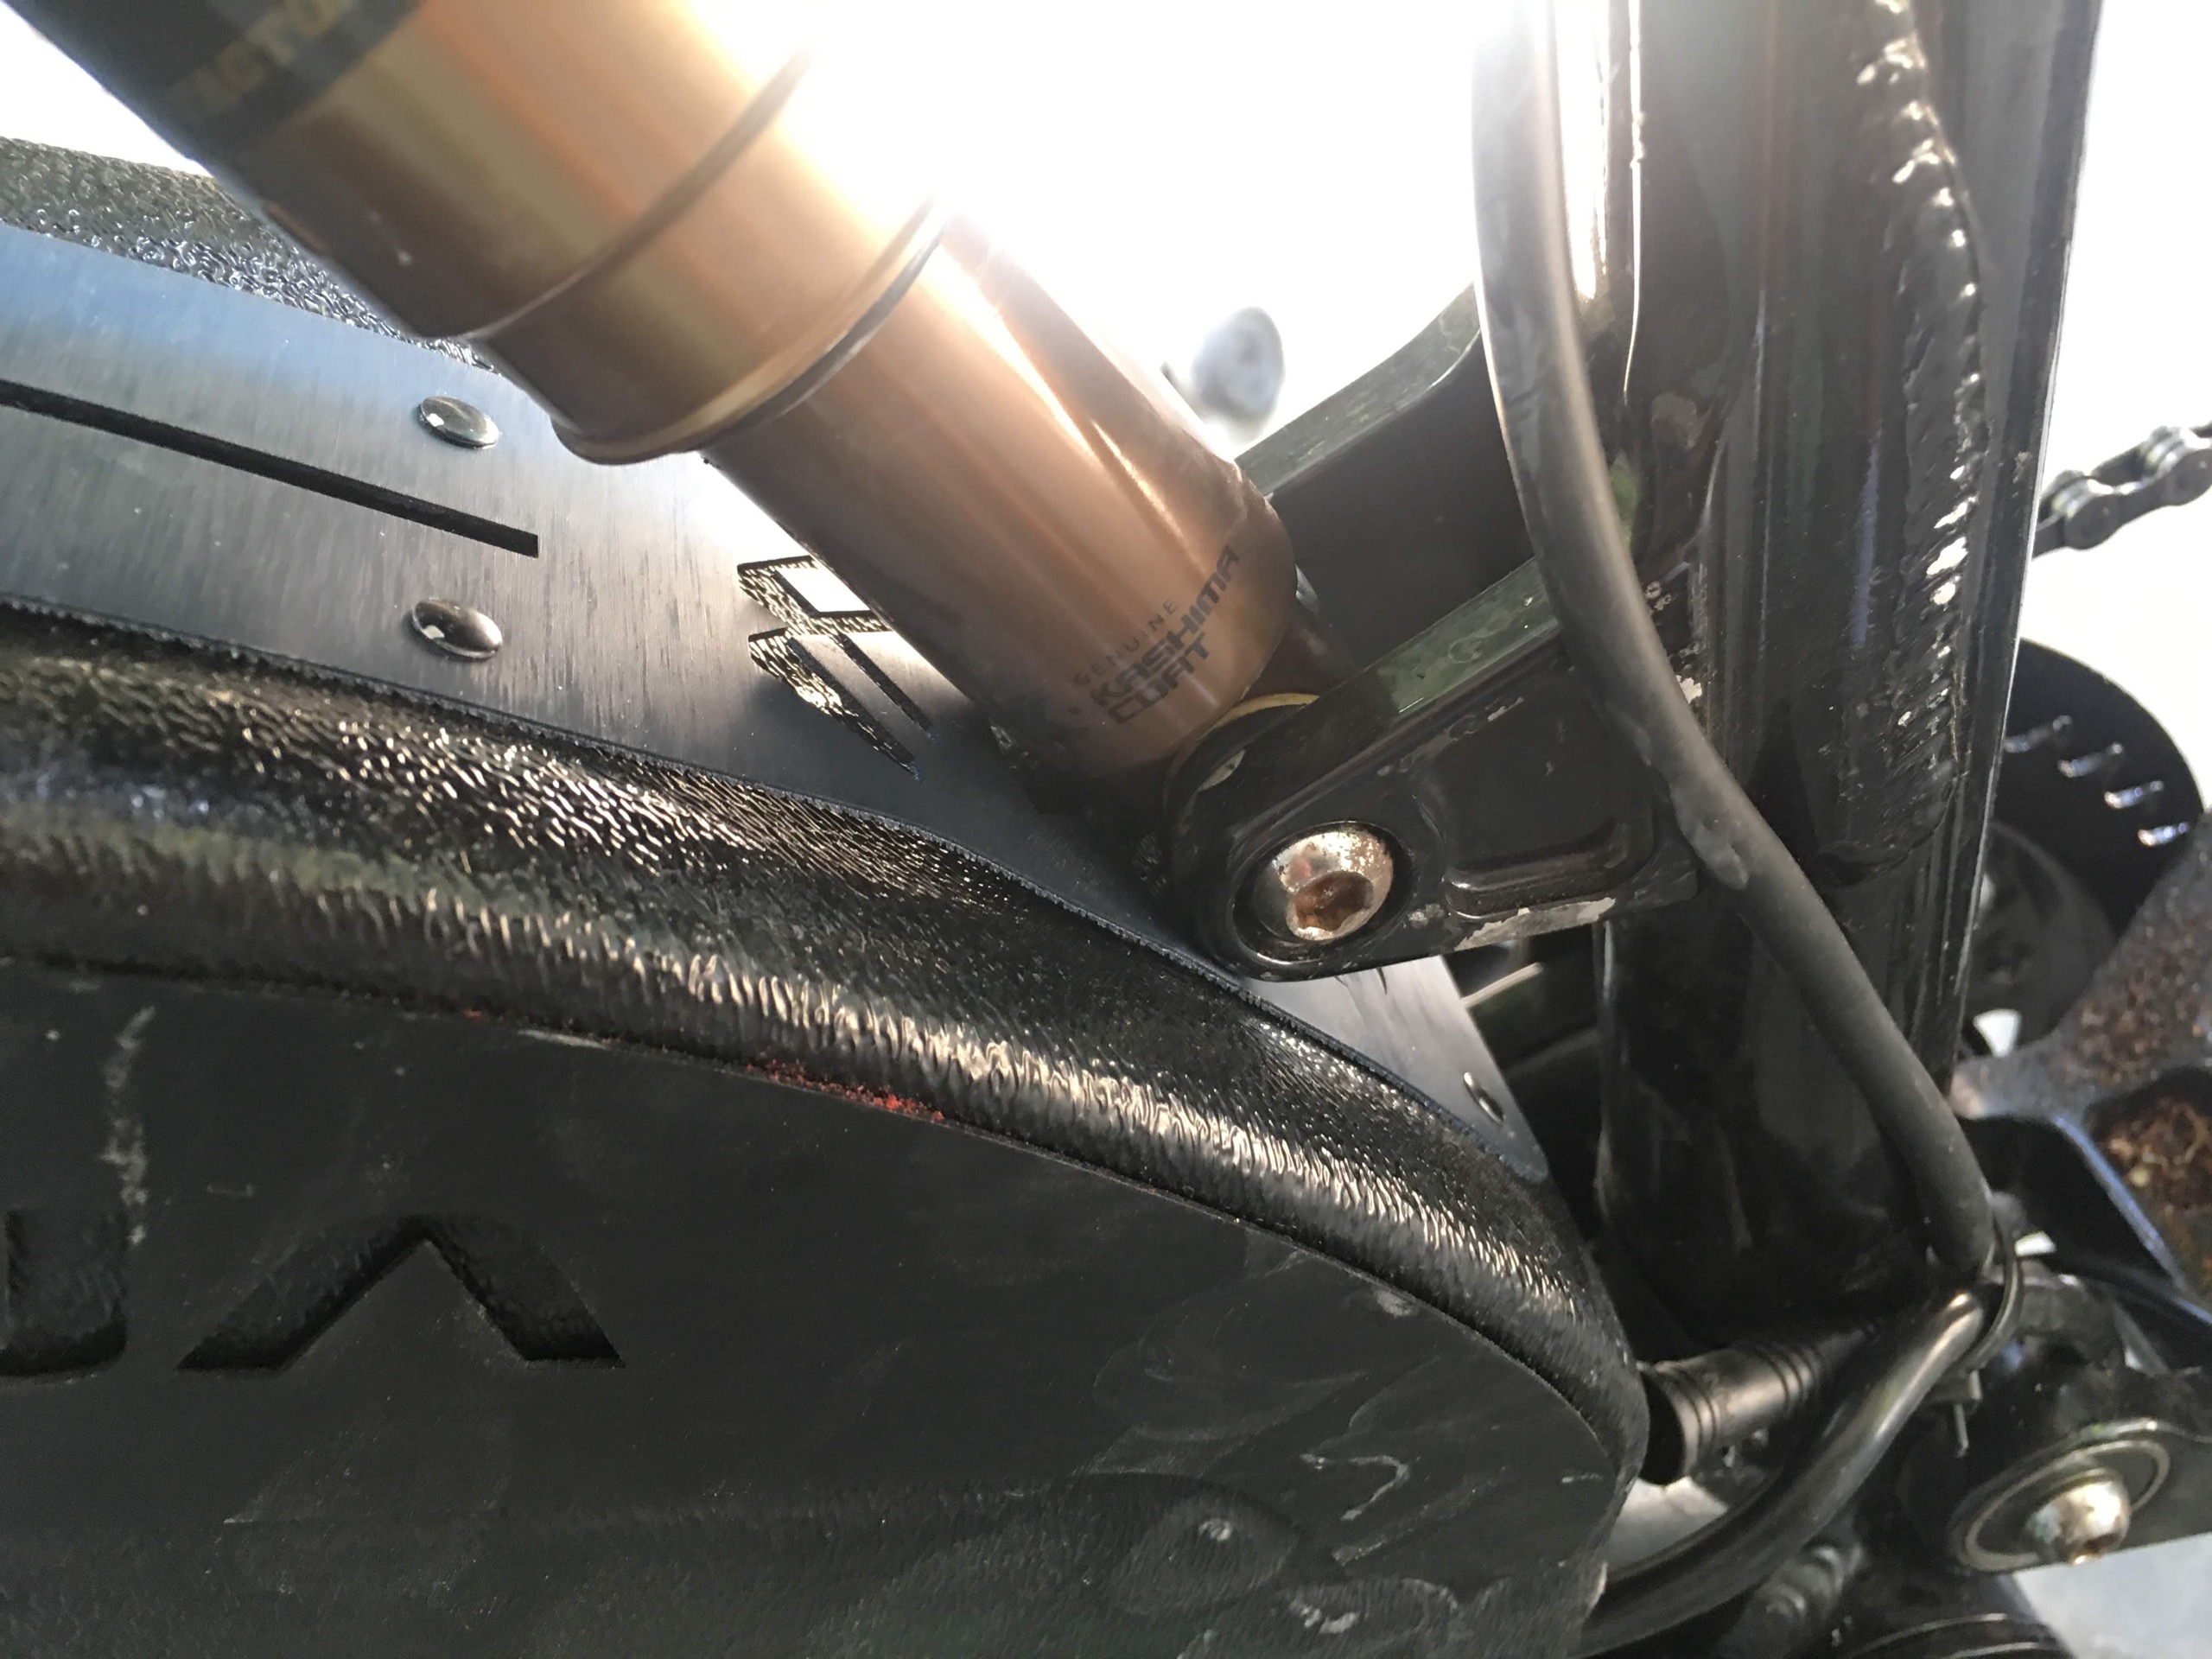
Watch out for proximity to the suspension (accounting for the motion of the suspension system):
Wire It Up
I didn’t photograph this step well, but it was pretty straight forward. Patience and zip ties are your friend.
- Install brakes that are pre-wired with motor cut offs. This stops the motor when you brake, which is important. It comes with your kit.
- Install the speedometer. Pretty easy, just zip tie it next to the wheel.
- Install the throttle. One complication for me was that the inner diameter of the handlebars was incompatible with the throttle’s attachment mechanism. I ended up gluing the throttle on.
- Attach and wire up the display
- Wire the motor to the battery.
Accessorize
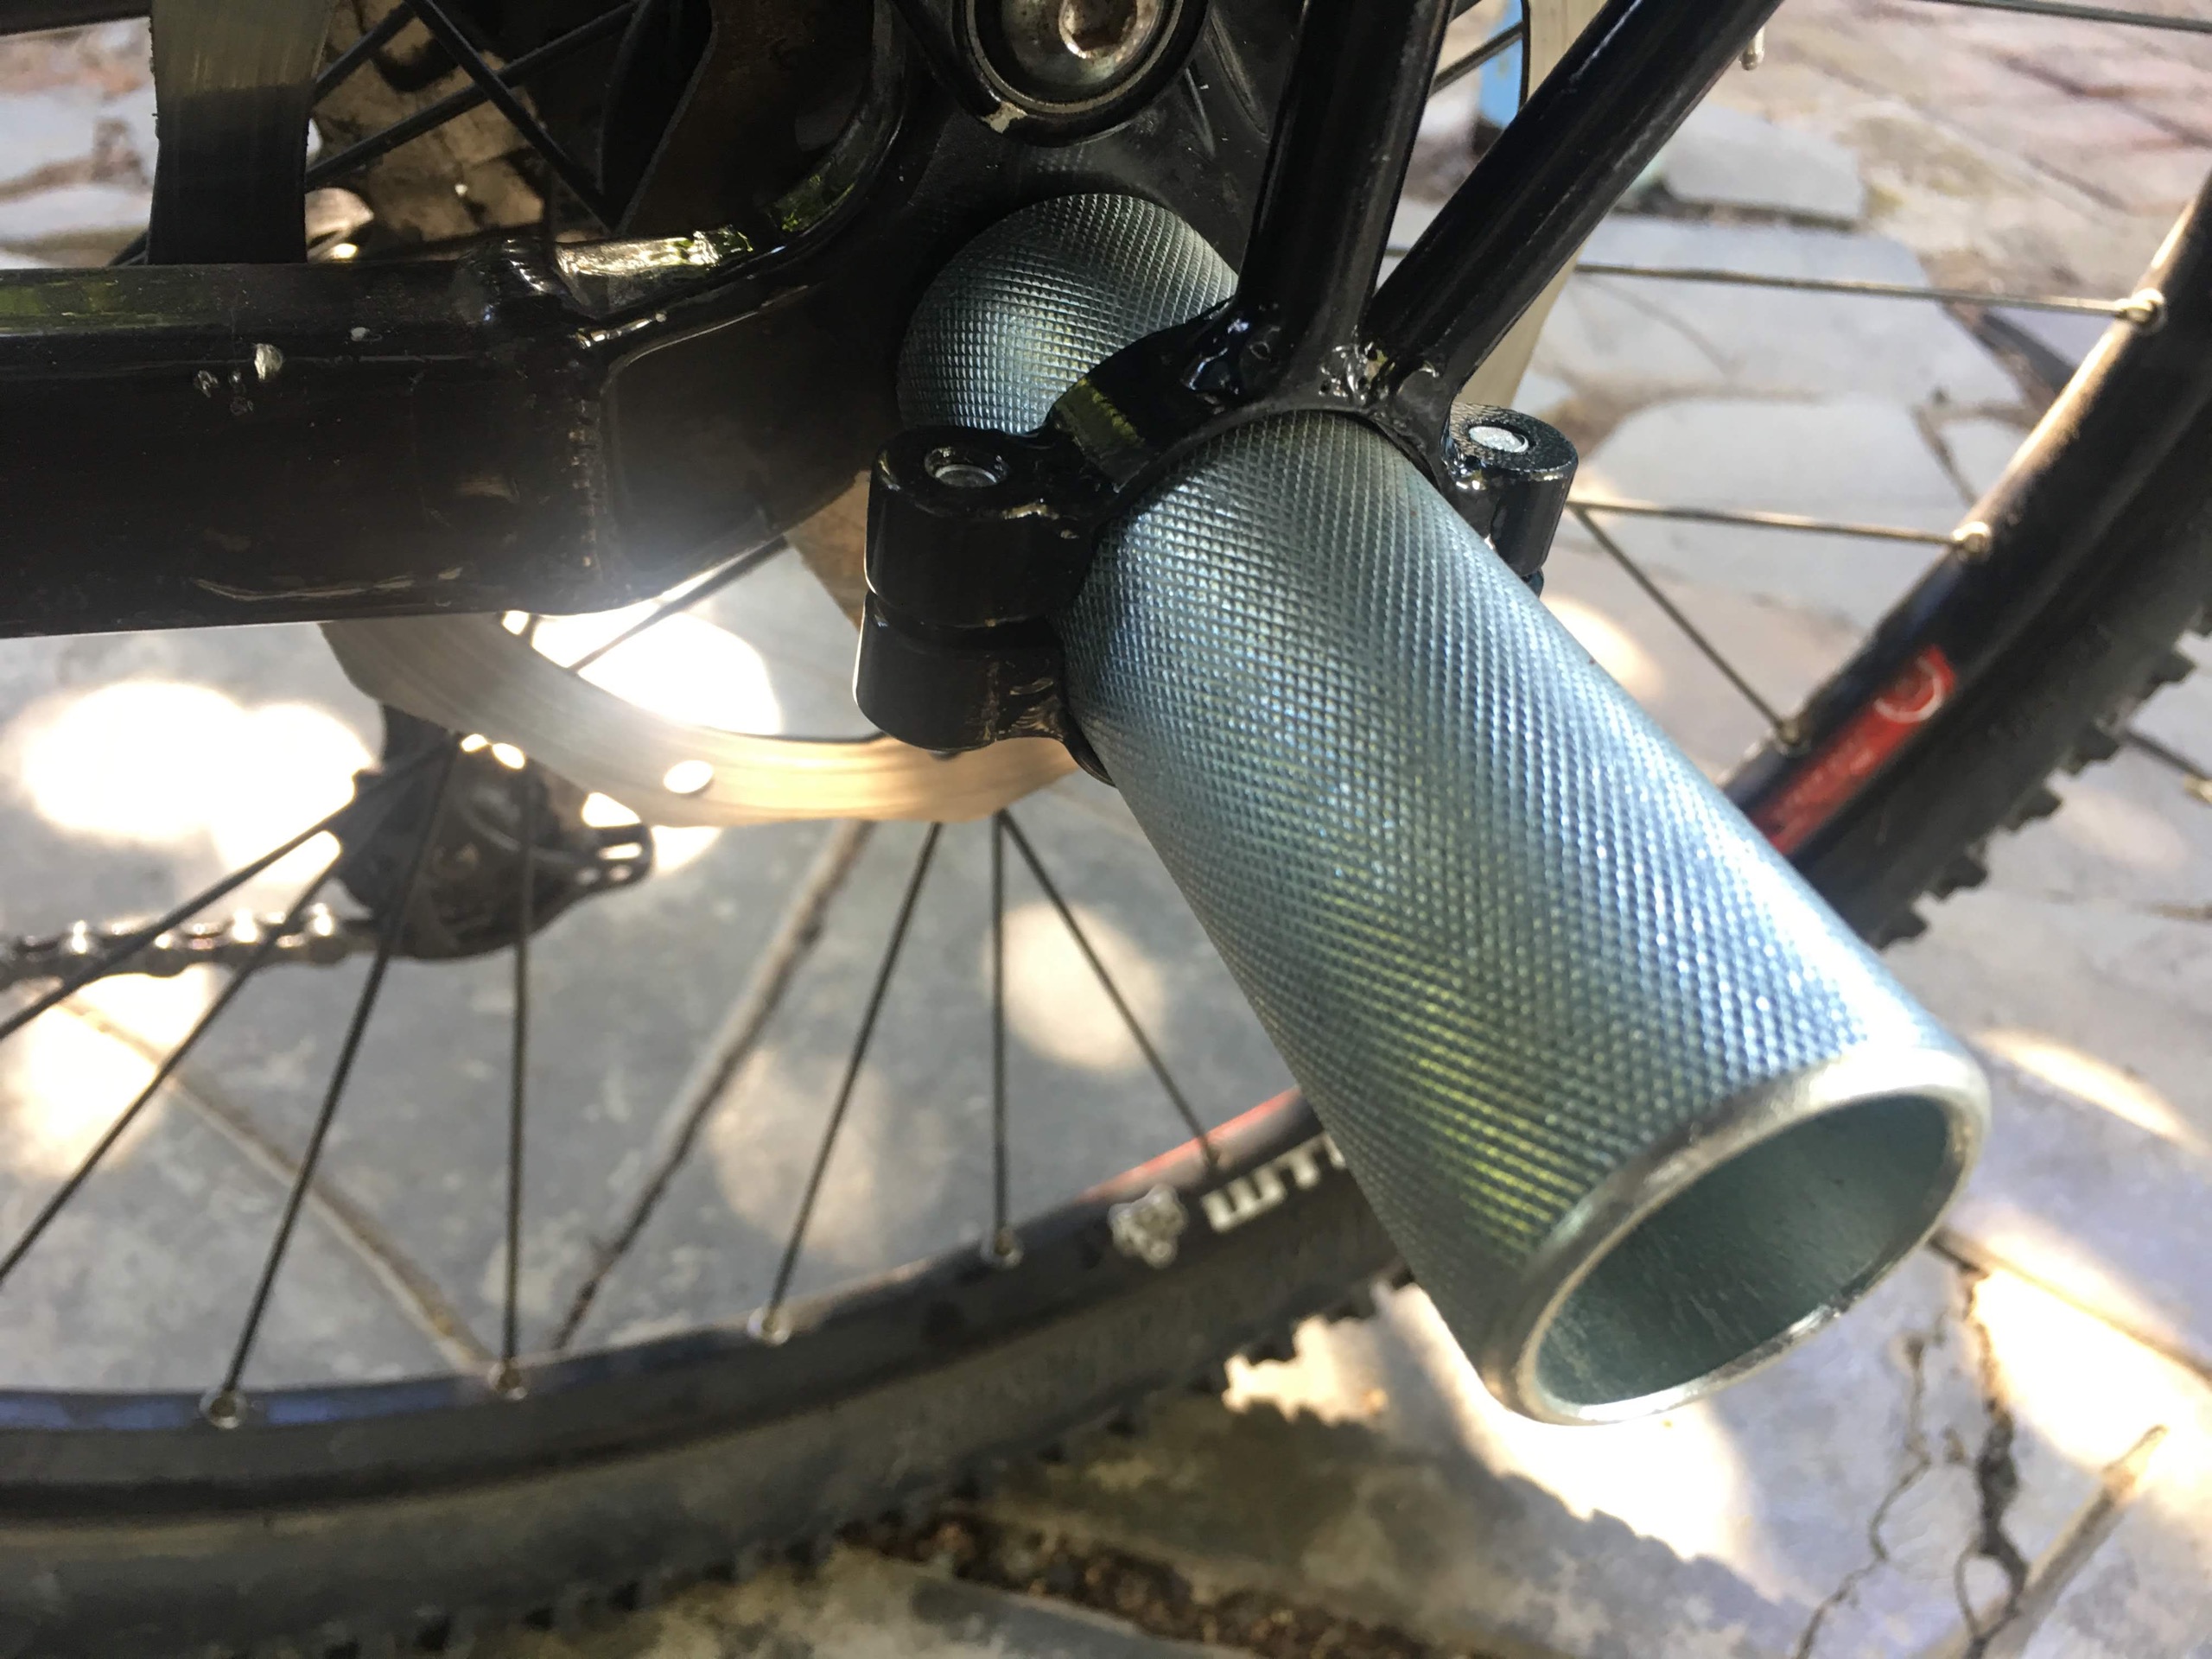
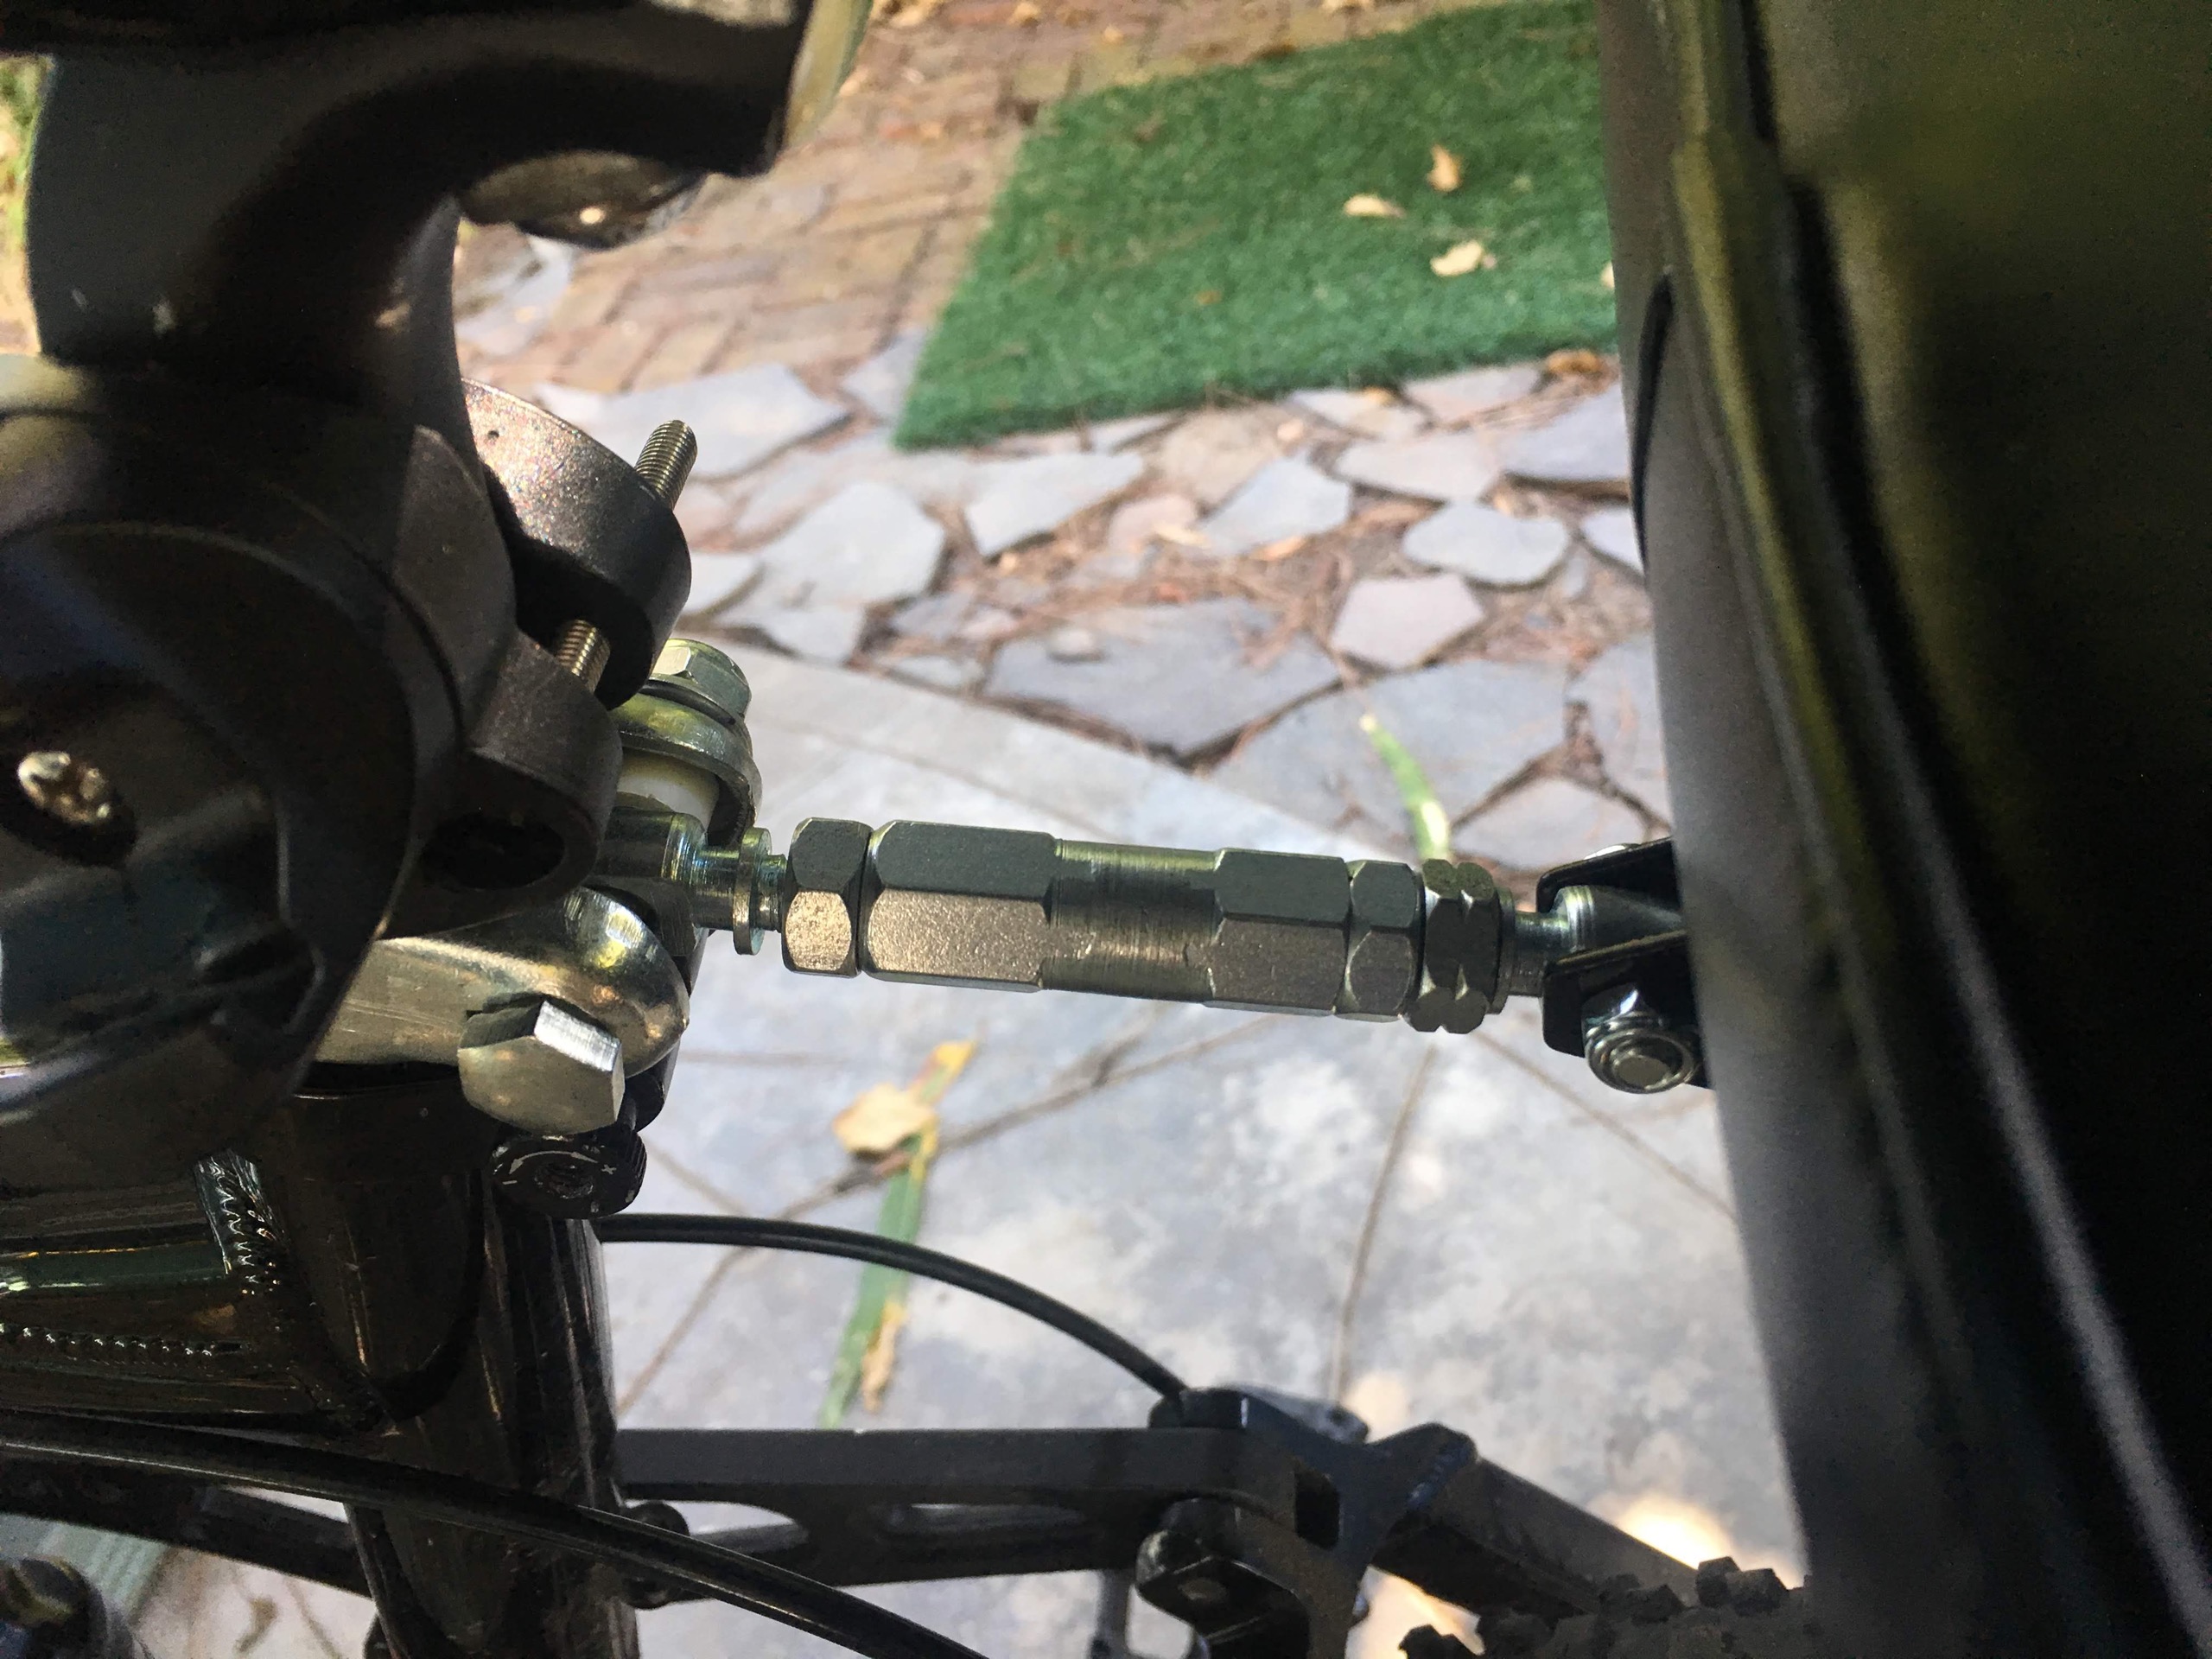
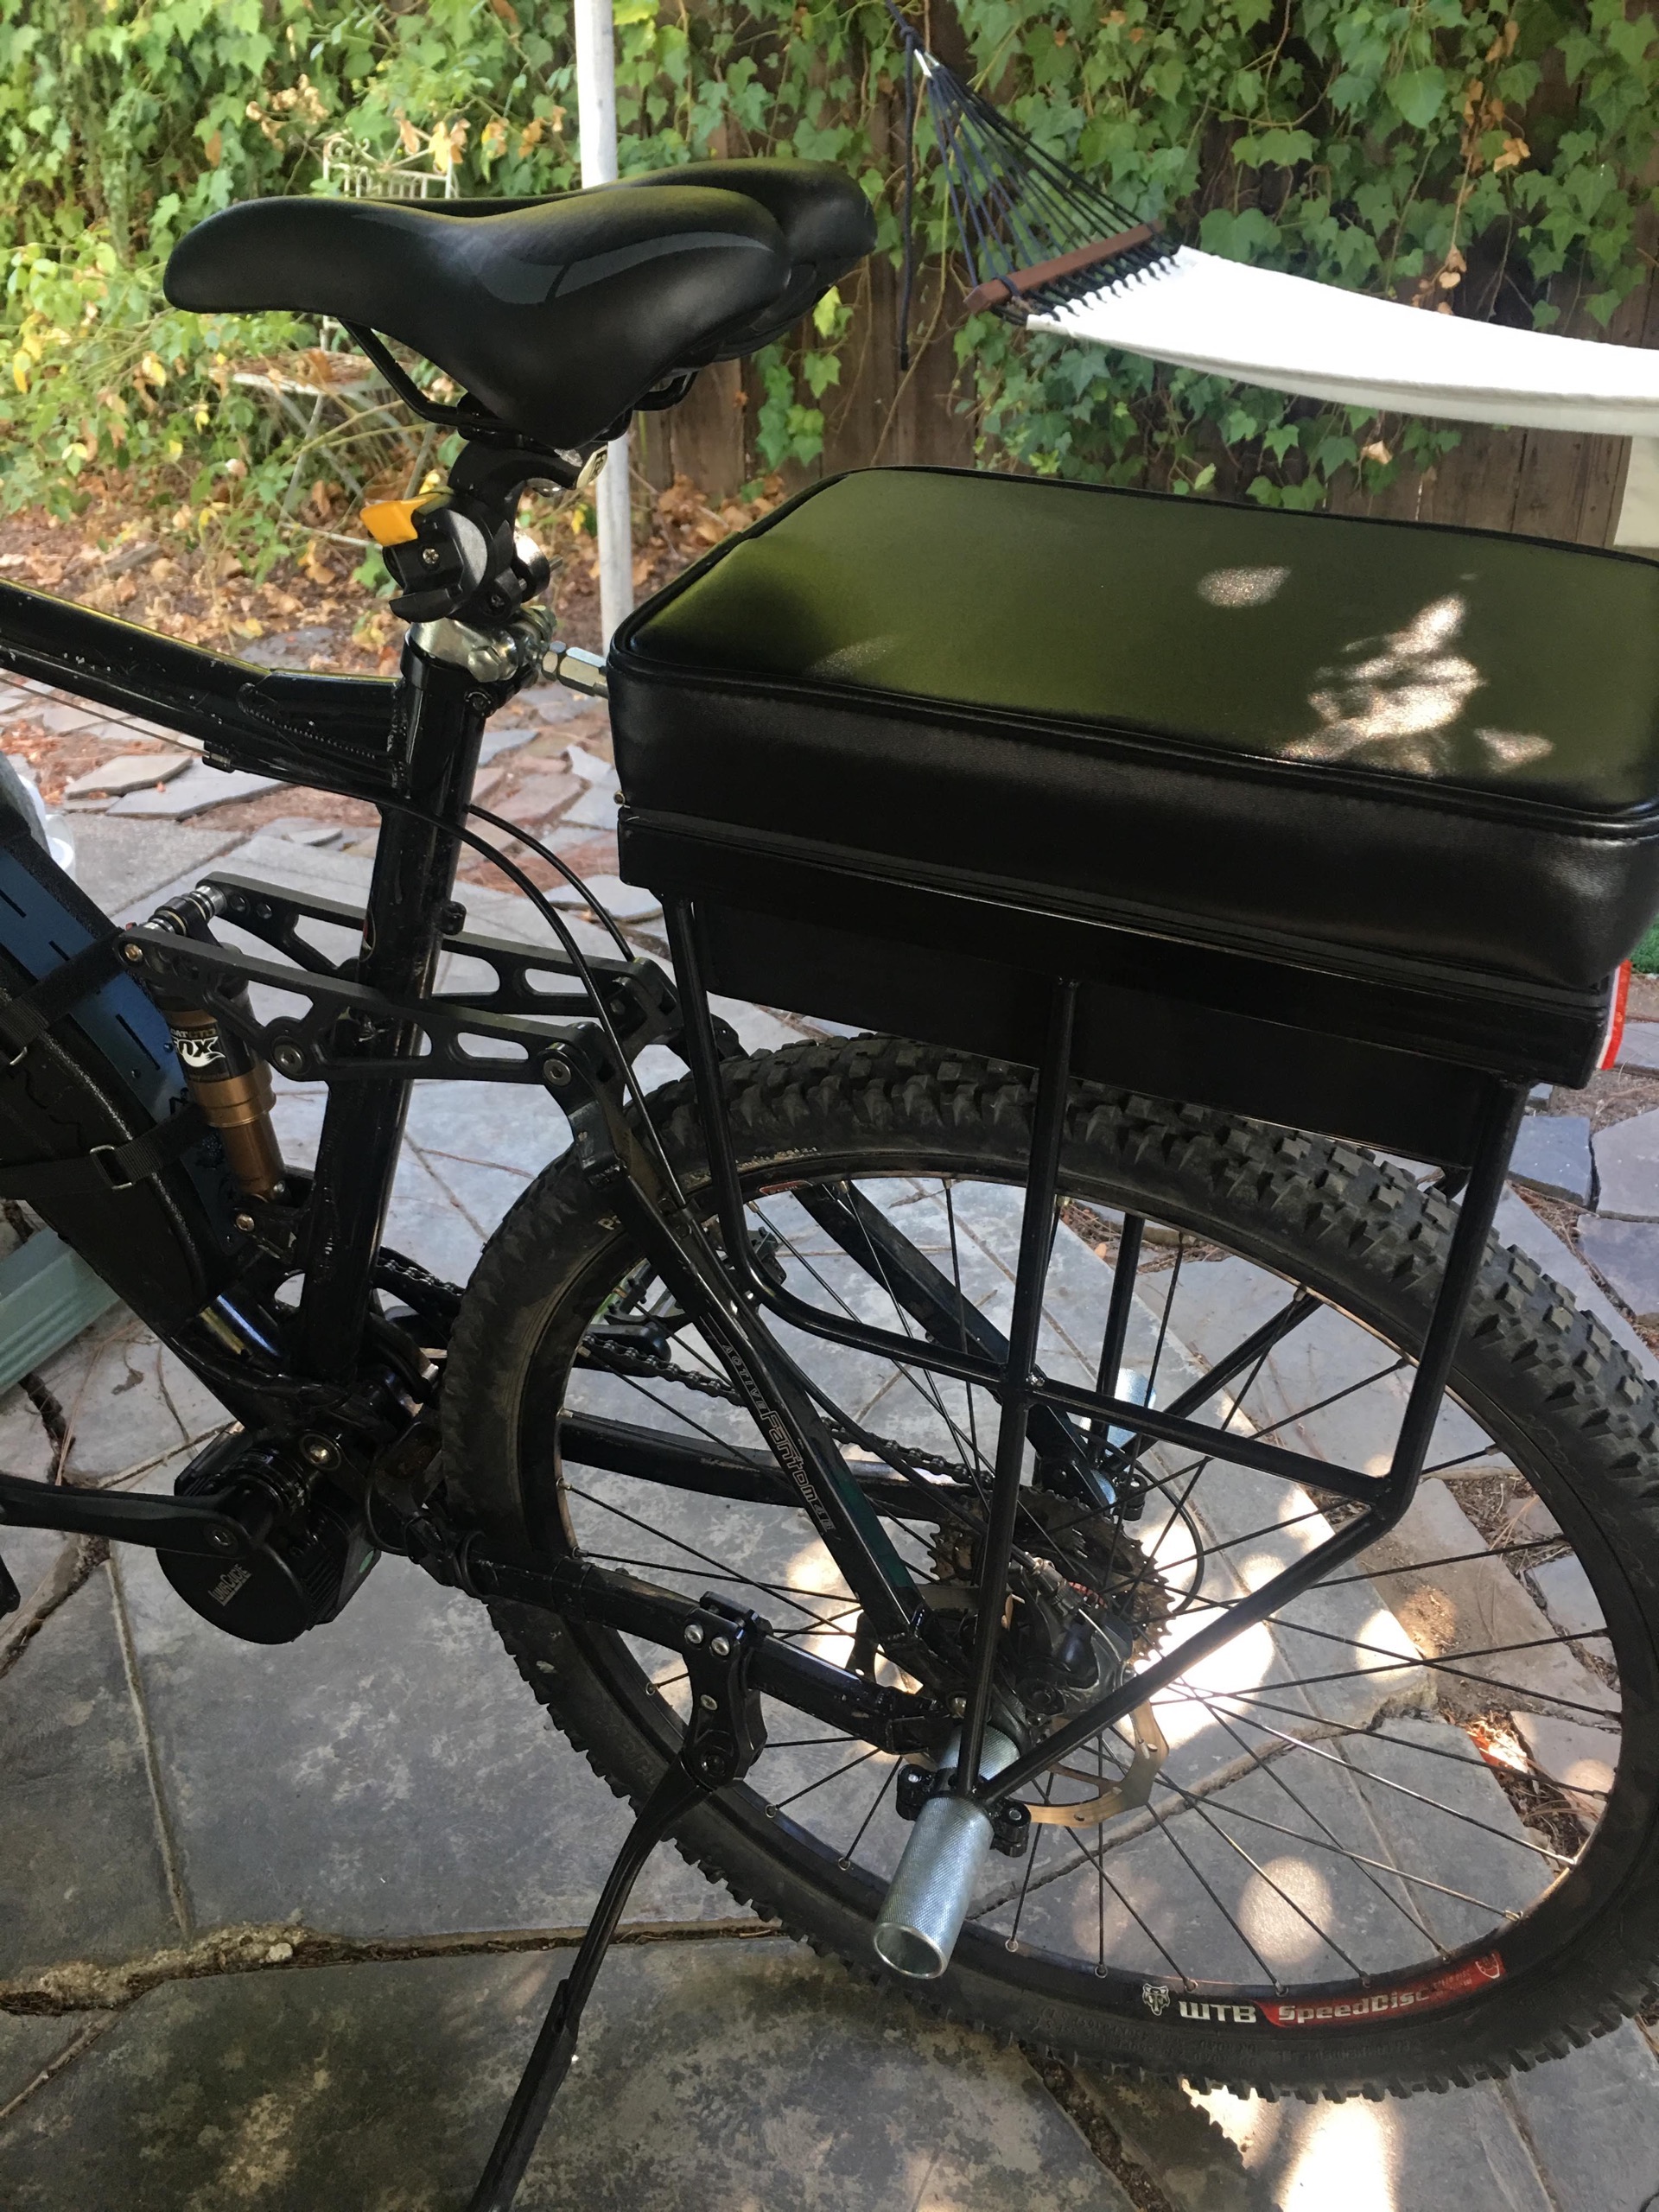
I added pegs and a companion seat so I could carry an additional passenger. This meant replacing the axle with a solid version and re-installing and re-greasing the bearings, which was more involved than expected. The result is pretty neat though:
Conclusion
I’ve been riding this bike as a daily commuter and it’s great.
It is reliable, fast, and lots of fun. The full suspension makes it very comfortable. And building it myself saved me a bundle over buying something off the shelf with similar capability.
Should you do it?
Definitely, if you want an e-bike.
Ebikes are a fantastic way to get around, and if you’re at all interested in DIY, building your own is a great way to get a good deal on one.
If you liked this post, share it on Twitter
« Previous: Build: A speaker mount floating over your TV • Next: Summary: Podcast on Recent Korean History »